I’ve Been Self-Tanning Wrong for Years. Here’s What Finally Changed My Results.
For a long time I thought I was making no self-tanning mistakes. I applied regularly, let it develop overnight, and still ended up with streaks on my shins, patchy elbows, and orange palms. I blamed the products. I switched formulas, tried different brands, went darker, went lighter. The results barely changed.
The formula was never the problem. The way I was applying it was. Once I figured that out, the same products I had been buying for years started giving me results I was happy with. Four things changed.
Most self-tanning mistakes have nothing to do with the product. DHA reacts faster on dry, uneven skin than on the rest of your body. If your prep and application technique are off, no formula will cover for it.
The Self-Tanning Mistakes I Kept Making
Skipping exfoliation (or doing it the same day)
I used to exfoliate the morning I was applying. Sometimes I skipped it entirely because I had exfoliated recently. Both were wrong for the same reason: DHA develops faster and darker on rough, dead skin cells. Elbows, knees, ankles, and anywhere with dry texture will absorb more color than the surrounding area, and you will not see it until the next morning.
Exfoliate the night before, not the morning of. Freshly exfoliated skin can be temporarily more absorbent, so giving it a day lets the surface settle. For at-home self-tanner, this works differently from prepping for a salon spray tan. The logic overlaps but the timing and tools are not the same.
Applying with my hands instead of a mitt
I know. I knew about mitts. I just kept telling myself I was careful enough to wash my hands fast and avoid staining. I was not. Palms absorb product the moment it touches them. By the time you finish one leg and move to the other, your hands have already pulled enough color to turn orange by morning.
A tanning mitt also changes how the product distributes. Hands apply in patches. A mitt blends in a single buffing motion that covers more surface evenly. The difference in streak frequency is not subtle.
Working in the wrong order and missing transitions
I used to apply top to bottom without thinking about where sections meet. The result was buildup at the back of my knees, around my ankles, and at the inner wrist. Those are transition zones where the skin folds and the product stacks up. They need a lighter hand and a fast blend pass, not the same pressure as the flat surface of your leg.
Working one leg at a time, blending toward the joint before moving to the next section, removes most of the buildup. It takes two extra minutes and fixes the most visible problem on legs.
Moisturizing dry zones right before application
The intention made sense: moisturize dry areas so they do not grab extra color. But thick lotion applied right before self-tanner dilutes the DHA on contact. The result looks like faded patches in the exact spots you were trying to fix.
What works is moisturizing those areas the night before, or using a very thin layer on just the knees and elbows immediately before applying. Enough to create a light barrier. Dry skin needs some protection, but you do not want lotion sitting on the surface while the formula is trying to develop.
What I Changed and What I Noticed
I did not overhaul everything at once. I fixed one thing at a time so I could tell what was actually making the difference. The exfoliation timing came first. Within two applications the patchy elbows that had bothered me forever smoothed out, which was a bigger shift than I expected from one change.
Adding a mitt removed the orange palms completely. Obvious in retrospect. The section-by-section application took a few tries to get right, but once I stopped rushing through the joints the buildup behind my knees stopped happening.
The moisturizer timing made the smallest visible difference but the application felt more controlled. The product spread more evenly instead of pooling on dry patches.
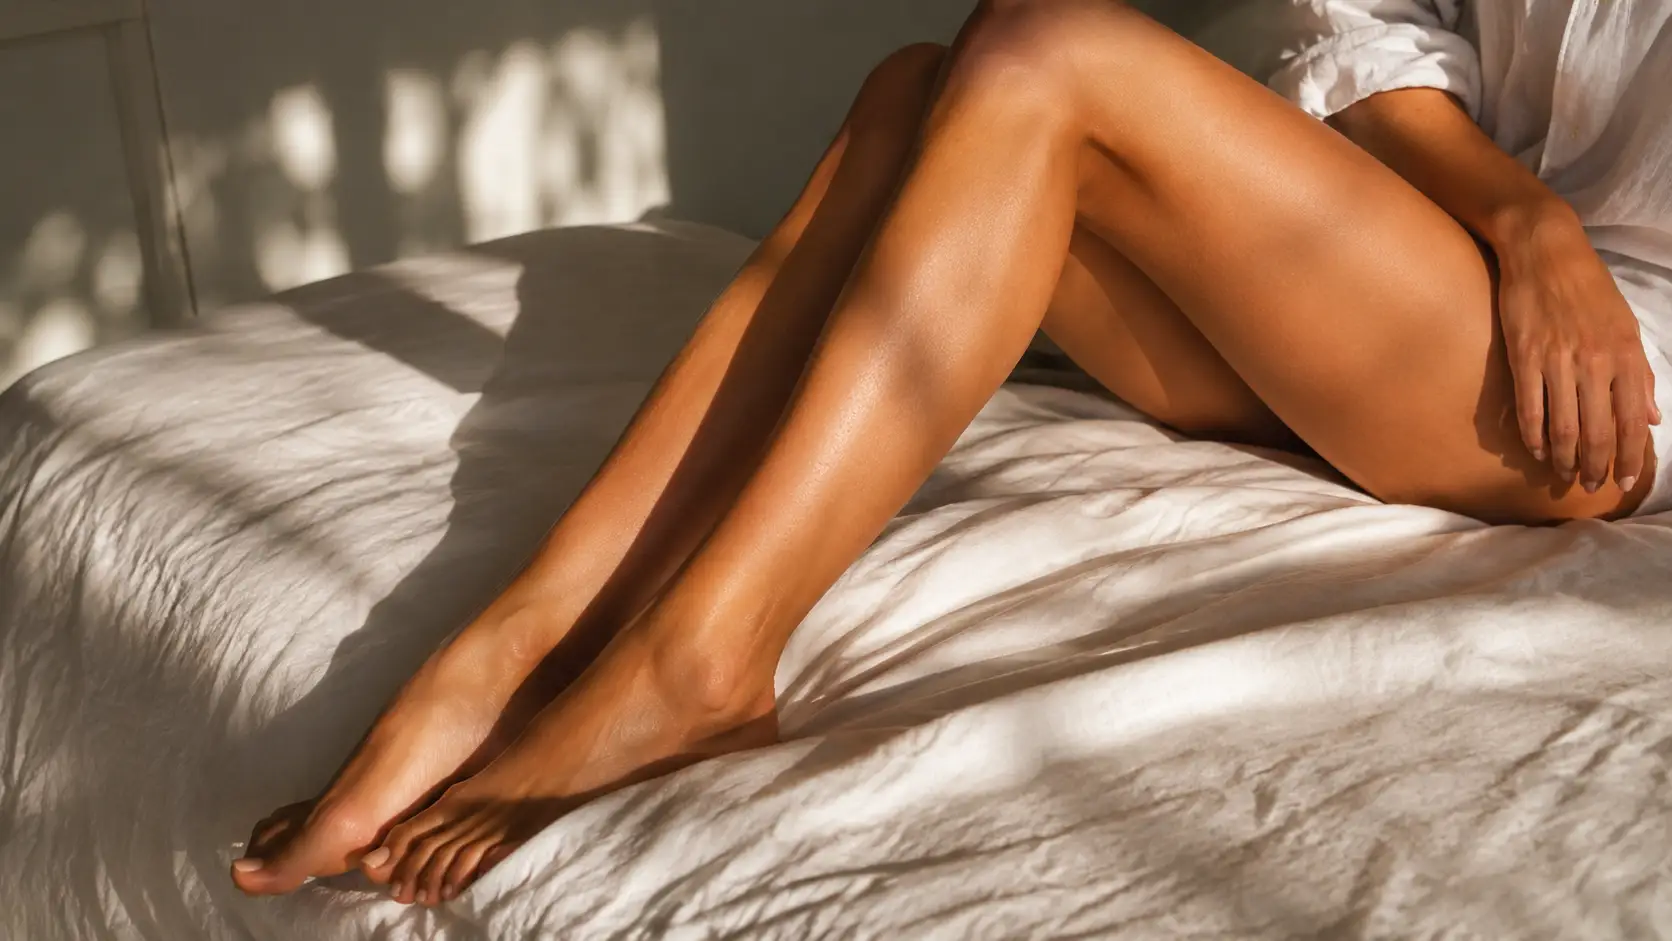
Before and After: What the Difference Looks Like
Before I fixed these self-tanning mistakes, the result was uneven in specific, predictable spots: darker at the joints, streaky on the shins, faded at the ankles. Fine from a distance. Obviously patchy up close. The color itself was never the issue. The distribution was.
After fixing the application, the fade improved too. When you apply unevenly, it fades unevenly. When the coverage is consistent, the color just gradually lightens in a single layer. I did not expect that. I thought development was the variable. Turns out the fade follows whatever you did on the way in.
The Routine I Use Now
-
The evening before
-
The morning of application
-
Application
-
Development
The products I use now are ones I had already tried before fixing my technique. The results are different not because the formulas changed but because I stopped blaming them for problems I was creating. That part took longer to admit than the rest.
Most uneven self-tan results come from the same four self-tanning mistakes: wrong exfoliation timing, no mitt, skipping section-by-section application, and moisturizing dry zones at the wrong moment. Fix those four things and the same formulas you have been using will give noticeably different results. The products are rarely the problem.
B.Tan Glow Your Own Way Clear Self Tan Gel Review: No Guide Color, No Drama?
Self Tanner With Moisturizer: How It Works and Which Ones Do Both
Best Express Self Tanners: 1-Hour and 2-Hour Picks That Actually Develop Right
Bondi Sands Self Tanner Review: Every Formula, Ranked
Best Sunless Tanning Products: Mousse, Drops, Lotion, and Gradual Picks
Best Self Tanner for Men: Picks That Work With Body Hair and Thicker Skin