Prepare Skin for Self Tanning: Exfoliation That Levels Out Your Glow
What to do before self tanning
To prepare skin for self tanning, cleanse first, exfoliate with extra focus on rough areas, handle shaving before you tan, tap a light moisturizer onto dry zones, and wait until skin is fully dry before application. This order gives self tanner a smoother, more balanced surface, so the color develops with fewer dark patches and cleaner blending.
Time needed: 30 minutes
This guide walks the reader through the prep routine that creates a smoother surface before self tanning. By following the steps in order, they can remove rough buildup, manage dry areas, and set up more even color payoff.
- Remove old product and cleanse your skin
Start with clean, product-free skin so the tanning formula does not catch unevenly. Wash off deodorant, lotion, oils, and any leftover self tanner before moving on.
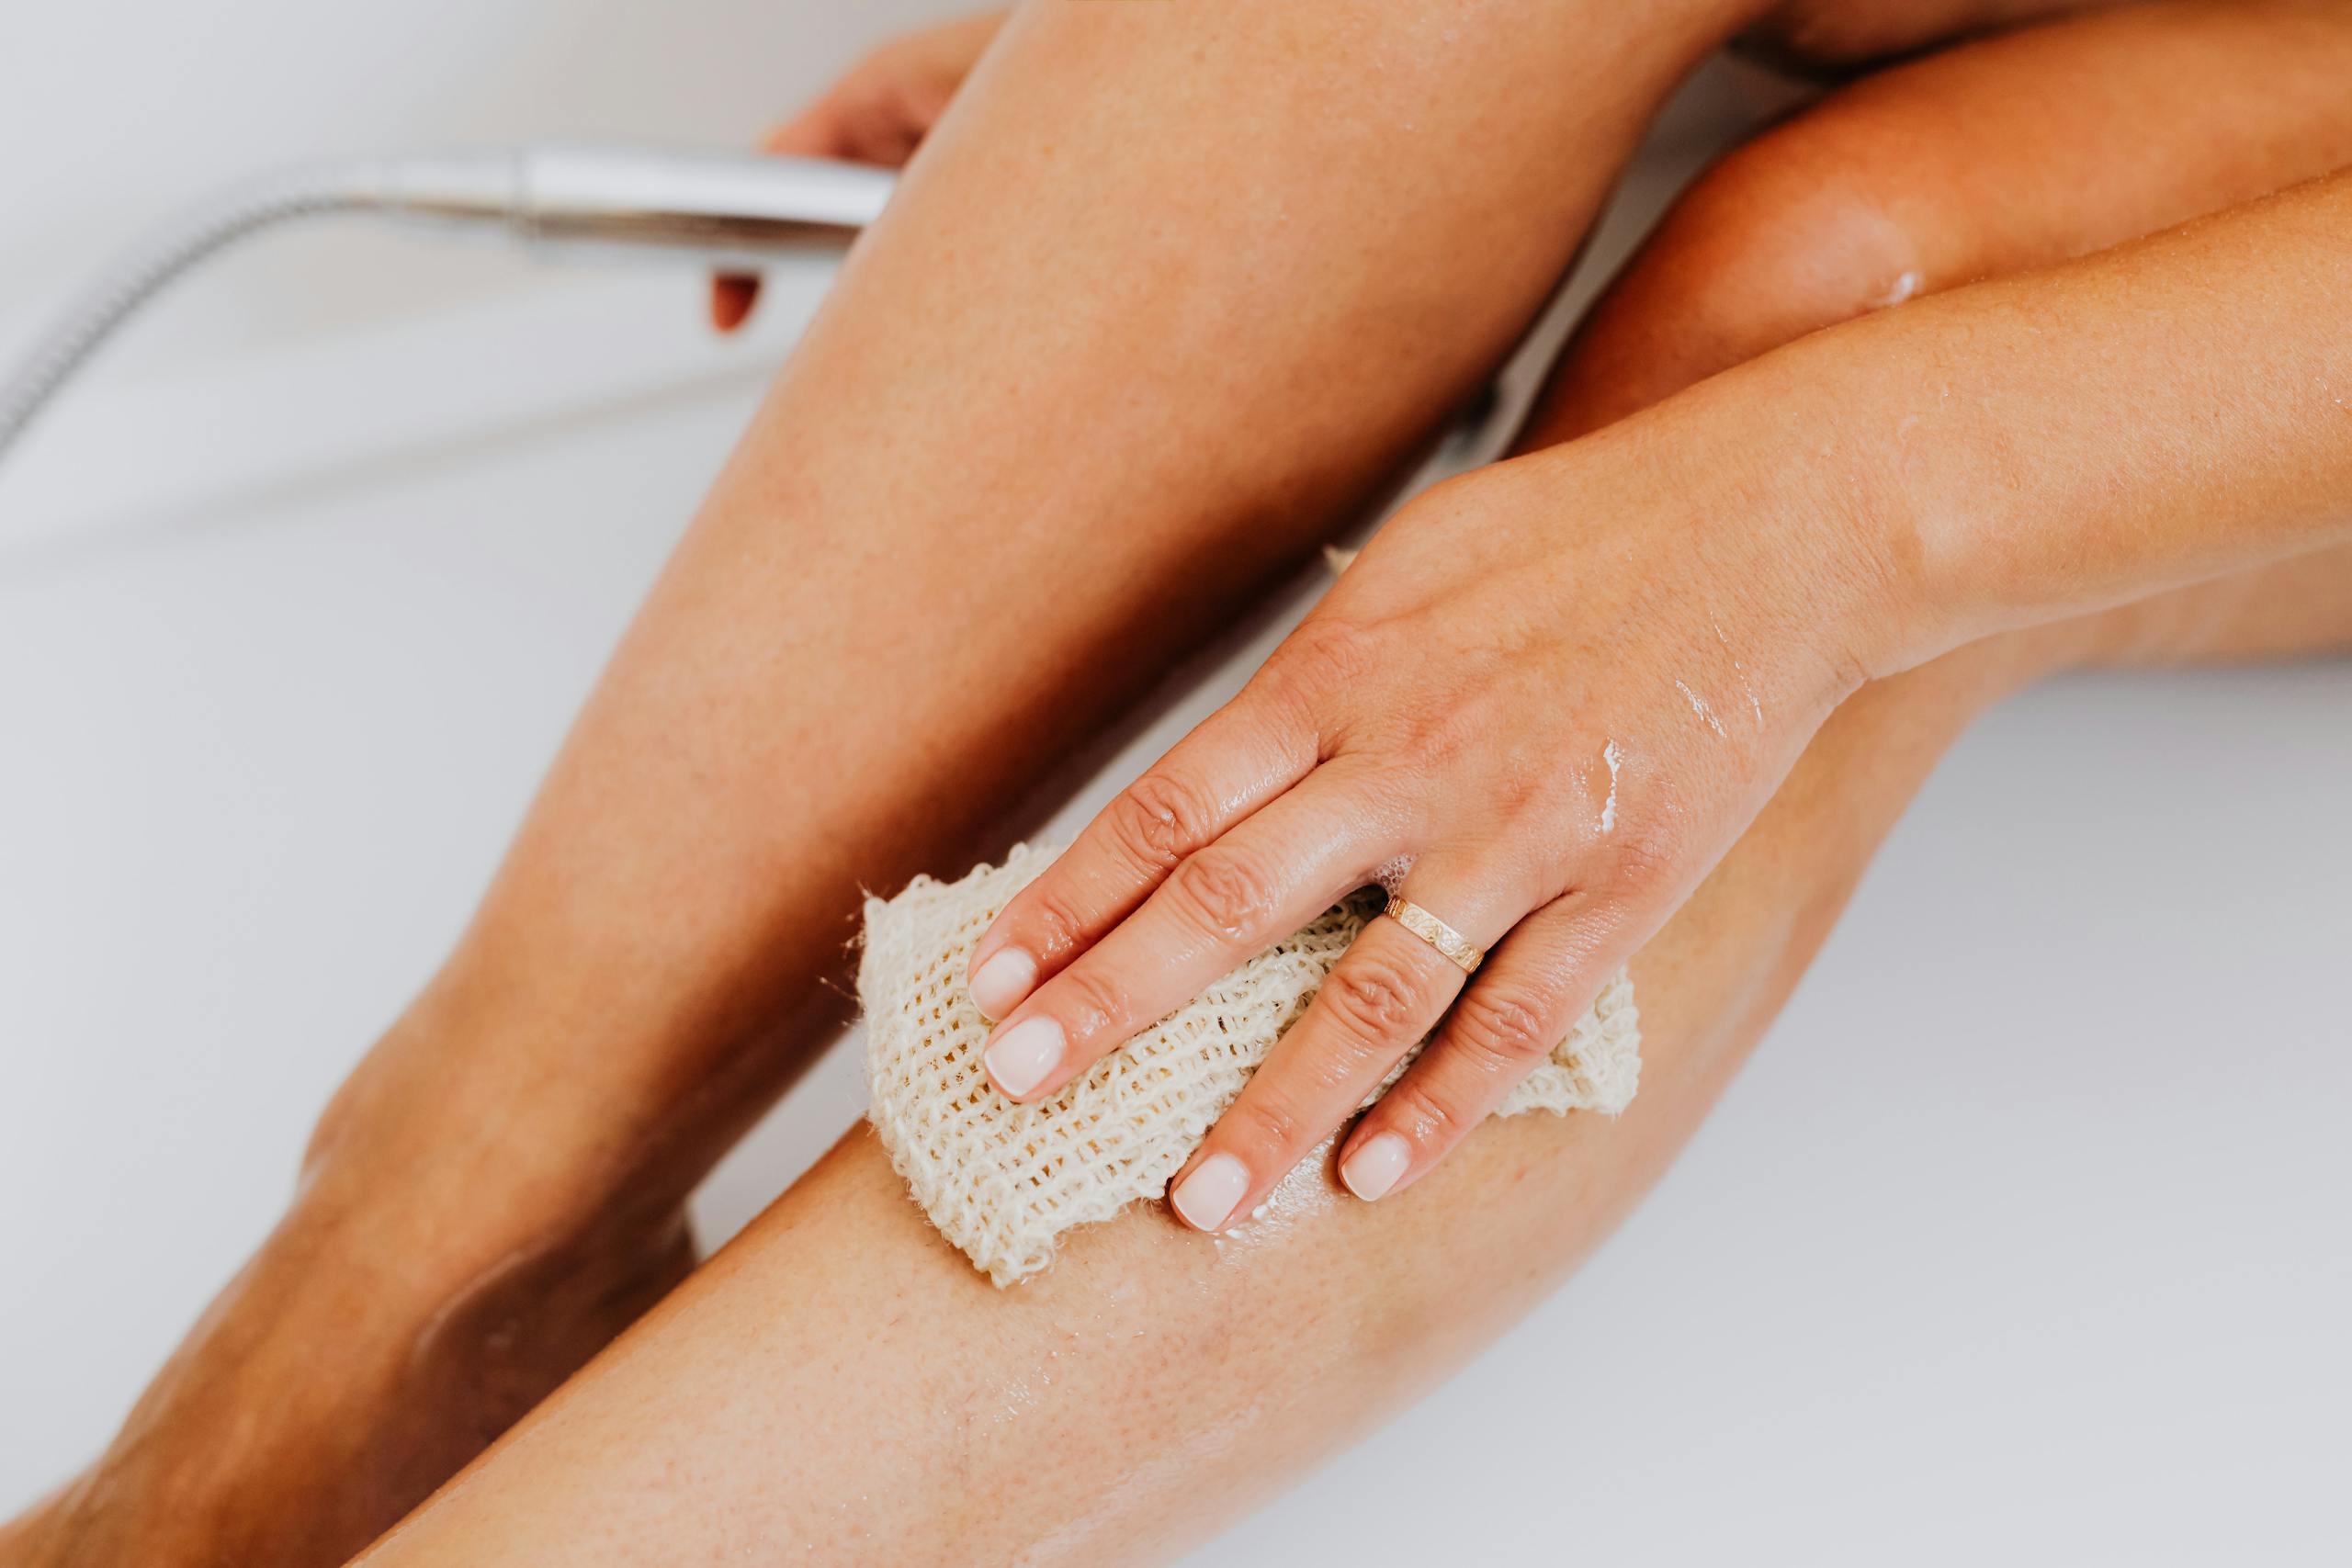
- Exfoliate your entire body with focus on rough zones
Use a non-oily exfoliator or mitt to buff away dry buildup, paying extra attention to elbows, knees, ankles, wrists, and feet. Work in controlled circular motions until the skin feels smooth rather than polished with residue.
- Shave or handle hair removal early
Complete shaving or other hair removal before tanning prep is finished so the skin has time to settle. This helps prevent fresh disruption to the surface right before application.
- Moisturize dry areas lightly
Apply a small amount of lightweight moisturizer only to dry spots that tend to grab extra color. Keep the rest of the skin free of heavy product so the tan can develop evenly.
- Wait until skin is fully dry before tanning
Let the skin return to a dry, balanced finish before applying self tanner. Any dampness, steam, or fresh product can interfere with a smooth first layer.
The goal is not to scrub every inch as hard as possible. Better results usually come from a controlled reset: wash away deodorant, body cream, and old tan traces, smooth the spots that collect extra buildup, then leave the surface simple and dry. Elbows, knees, ankles, feet, and wrists almost always need more attention because they hold onto product faster. This is also explained in detail in the full guide on why exfoliating before tanning matters.
You do not need a complicated setup. A shower, a non-oily exfoliator or mitt, a razor if you shave, a lightweight moisturizer, and a clean towel cover most prep routines. If you are starting from fresh skin, plan on about 20 to 30 minutes. If you need to remove lingering color or shave as part of the routine, give yourself more like 30 to 45 minutes so nothing feels rushed right before application.
What you need for a smooth self-tan prep routine
Gather everything before you step into the shower so the routine stays tight and you do not end up reaching for the wrong texture at the last minute. Keep this checklist simple, because the best prep products are the ones that rinse clean and leave the surface predictable.
-
Use a non-oily exfoliator or exfoliating mitt
Pick a mitt or a body scrub that washes off without leaving a slippery film behind. Skip thick oil-heavy formulas right before tanning, especially on shins, knees, and ankles, because they can change how the color grips and blends.
-
Choose a lightweight moisturizer for dry areas
Use a fast-absorbing lotion or cream for elbows, knees, ankles, heels, hands, and any flaky patches. Leave rich body butters for another time, because a heavy layer all over can dull your prep work and make the application slide instead of settle evenly.
-
Set up your prep timing before application
Start early enough that cleansing, exfoliating, shaving, and moisturizing do not overlap with the tanner itself. A small buffer matters. When your skin is fully dry and your bathroom is no longer steamy, the product usually goes on with a smoother finish.
Step-by-step: prepare your skin for self tanning
Follow this sequence in order. Each step sets up the next one, and skipping ahead usually shows up later as patchy color on the very places you notice first, like knees, ankles, wrists, and the backs of your hands.
Step 1: Remove old product and cleanse your skin
Start by taking off anything already sitting on the surface. If you still have leftover self tanner from a previous round, the guide on how to remove self tanner covers the safest products and methods to clear it without disrupting the skin. Then wash your whole body with a basic body cleanser and make sure you rinse away deodorant, fragrance mist, lotion, and any slick shower product. Pay close attention to underarms, along the neckline, across the chest, and behind the knees, because these spots often keep a thin layer of product you cannot always see.
This first step matters because self tanner develops according to the surface underneath it. If one area has old tan clinging to it and another has fresh lotion still sitting on top, the new layer will not develop at the same pace. Before moving on, towel off lightly so you can actually feel where the texture is uneven and where the skin is already smooth enough.
Step 2: Exfoliate your entire body with focus on rough zones
Once your skin is cleansed, exfoliate from top to bottom with a mitt or a non-oily scrub. Use long, steady strokes on larger areas like calves, thighs, forearms, and upper arms. On places that naturally run rougher, switch to tighter circular passes and a bit more pressure. Elbows, knees, ankles, feet, heels, and wrists should get the most attention, because they hold onto extra color and can look noticeably deeper if the texture is left uneven. You are not trying to make your whole body feel stripped. You are trying to level the surface so the tanner has fewer high-grab patches.
Keep the difference between normal areas and rough zones clear in your mind. Your stomach, chest, shoulders, and outer thighs usually need just a few light passes to reset the surface. Your heels and around the ankle bone often need a slower approach and one extra round. At this point, rinse thoroughly and run your hand over the skin. It should feel smoother and more even, not slick, waxy, or coated.
Step 3: Shave or handle hair removal early
After exfoliating, take care of shaving if it is part of your routine. Doing it after exfoliation lets the razor move more cleanly over the skin, and it helps remove the last bits of loosened buildup at the same time. If your schedule allows, shave several hours before tanning or the night before so the surface has time to settle and fully dry. If you are handling waxing or another method, give yourself an even bigger time window so application does not happen immediately after prep.
Rinse well when you are done. Shaving cream, conditioner, and rich shower gels can sit on the skin longer than you think, especially around ankles and behind knees. Freshly shaved legs can also catch product differently if you rush straight from the razor to the tanning mitt. A little timing here usually pays off in a smoother finish later, particularly on lower legs where streaks tend to show first.
Step 4: Moisturize dry areas lightly
Now add back only what the driest areas need. Use a small amount of lightweight moisturizer on elbows, knees, ankles, heels, knuckles, and any visibly flaky patches. If your hands tend to go darker than the rest of your body, smooth a very thin layer over the backs of the hands and around the wrists, then blend it out so there is no obvious edge. Keep the rest of the body mostly free of lotion unless you know a certain area always needs a touch more balance.
The reason for this step is simple: dry zones drink up color faster. This is the same principle behind how moisturizing helps maintain a tan once the color has already developed. Do not coat yourself from shoulders to toes with body cream right before tanning. That can leave too much slip and make it harder to get a consistent payoff when you finally apply the self tanner.
Step 5: Wait until skin is fully dry before tanning
Before moving into application, pause. Skin that still feels damp from the shower, humid bathroom air, or fresh moisturizer can throw off an otherwise good routine. Put on a robe or loose clothing, step into a cooler room if the bathroom is still steamy, and give yourself enough time for the surface to feel fully dry. On most days, 10 to 20 minutes is enough, but the right cue is feel, not the clock.
Check the areas that matter most: shins, knees, elbows, feet, and the backs of your hands. They should feel smooth and dry, not tacky and not slippery. If your palm glides over the skin without catching on rough patches or sliding over product, you are in the right place to start tanning. That small waiting window is often the difference between a polished blend and color that grabs in streaks. If streaks do appear after application, there is a full guide on fixing a streaky self tan.
How to exfoliate before self tanning without overdoing it
Good exfoliation is targeted, not aggressive. If your last self-tan prep left you scrubbing harder and harder without getting a better finish, use these adjustments to sharpen the technique instead of repeating the whole shower routine.
Focus extra pressure on elbows, knees, ankles, and feet
If those areas usually develop darker than the rest of your body, change the pressure there first. Use one or two extra passes on the elbow points, around the kneecaps, along the ankle bone, across the tops of the feet, and over the heels. That small shift usually gives you a more even result than scrubbing your thighs and arms the same way.
Stop once the texture feels level. More friction after that rarely improves the finish. The practical move is to give rough zones extra attention, then leave them alone so the surface stays balanced for application.
Use lighter passes on normal areas
If your shoulders, upper arms, stomach, or outer thighs already feel smooth, scale back. A few light strokes are enough to freshen the surface without turning the whole routine into a full-body deep scrub. The result is better blend control, because the driest zones are no longer competing with overworked areas that did not need much help.
Think of these spots as maintenance areas, not problem areas. Light passes there, focused work elsewhere, then move on.
Skip heavy oils right after exfoliation
If you like using oils after a shower, save them for after the tan has fully developed. Right after exfoliation, a heavy oil can sit in the low points of the skin and change how the self tanner spreads, especially on calves, shins, and around the knees. The usual payoff is not extra glow. It is less predictable color pickup.
Switch to no product at all on most of the body, or to a lightweight lotion only on the dry zones that truly need it. Cleaner prep usually means a more controlled finish.
Know when your skin feels ready instead of trying to make it feel stripped
If you keep rubbing until the skin feels squeaky or ultra-tight, you have gone past the useful point. Ready skin feels smooth, even, and free of residue, but still like skin. It does not need to feel bare in an exaggerated way for self tanner to work well.
A good test is your hand. Run it over your shin, then over your knee, then over your ankle. If the feel is mostly consistent from one zone to the next, your prep is ready and you can stop there.
Fix common prep mistakes before you apply self tanner
Prep does not have to be perfect to give you a better finish. If something feels off right before application, make a quick adjustment instead of pushing ahead and hoping the tanner will somehow even it out on its own.
Your skin still feels rough after exfoliating
The roughness is usually not everywhere. It is often concentrated on elbows, knees, ankles, heels, or along the wrists. Rather than re-scrubbing your whole body, go back in only on the spots that still feel textured, add water, and use a few controlled passes with the mitt. Then rinse and reassess with your hand instead of your eyes.
This works because targeted smoothing changes the areas that grab too much color without undoing the rest of your prep. For next time, spend more of your exfoliation time on rough zones first instead of dividing the same effort evenly across your whole body.
You moisturized too much all over
If your skin feels slippery or your hand leaves a shiny track when you glide it over your legs, there is probably too much product sitting on top. The fix is simple: take a dry towel and gently blot the excess, or do a quick rinse and pat dry again if the layer feels heavy. You want the driest zones lightly cushioned, not the whole body coated.
Too much lotion can make the self tanner spread unevenly or mute the payoff in some sections while deeper patches develop elsewhere. Keep a separate lightweight moisturizer just for tan prep so you are less likely to reach for a richer body cream by habit.
You shaved right before tanning
If you just finished shaving and planned to tan immediately, give yourself a buffer. Dry off completely, get out of the steamy room, and wait until the surface no longer feels freshly showered. If there is still shaving product on the skin, rinse once more before you wait. This extra time helps the tanner go on more evenly, especially on the lower legs.
The cause here is usually speed, not the shave itself. Shaving can work perfectly well in your prep routine when it is followed by a proper rinse and a little time. Build in that gap next time so your application starts on settled, fully dry skin instead of rushed skin.
You still have leftover self tanner on the skin
Old color can create a patchy base under your new layer. Once the new tan is applied, following the correct steps in how to apply self tanner correctly gives you the best chance of an even result. If the leftover tan is light and scattered, spend a few extra minutes softening only those areas with warm water and a mitt. If it is obvious and concentrated in larger sections, it may be worth delaying the new application until you can lift more of it off first.
The fastest decision rule is this: if the leftover color is visible from arm’s length, treat that area again before you apply anything fresh. Keeping a mitt and a tan-removing product in your prep kit makes this easier to fix without throwing off the rest of your routine.