How to Apply Self Tanner for a Seamless Bronze Finish
To learn how to apply self tanner, start on clean, dry, well-prepped skin and work from large body areas to smaller detail zones, using less product on dry points. That order gives you more even color, smoother blending, and fewer dark patches. Before you begin, set out your formula, a mitt, light moisturizer, mirror, and towel so the routine stays controlled.
Time needed: 45 minutes
This guide walks the reader through a complete self-tanner application routine for smooth, even color from prep to finish. It shows exactly what to do, in order, to reduce streaks, patches, and uneven fade.
- Prep your skin
Start with clean, dry skin and remove rough texture from areas like elbows, knees, ankles, and wrists. Apply a light layer of moisturizer only to dry zones so the tanner develops more evenly.
- Apply self tanner in sections
Work one body area at a time and blend with a mitt using light, controlled motions. Start with larger areas first, then move to smaller areas so coverage stays consistent.
- Use less product on hands, feet, elbows, and knees
These areas grab excess product quickly, so use leftover tanner on the mitt or a very small amount. Blend carefully into creases and edges for a softer transition.
- Blend your back, wrists, ankles, and hairline
Check common transition points where streaks and dark lines show up most often. Feather the product outward so there are no obvious borders.
- Let the tanner set before getting dressed
Give the product time to dry fully before putting on loose clothing. Avoid rubbing the skin during this setting window so the finish stays smooth and even.
- Rinse or leave on based on the product instructions
Follow the product timing for express or standard formulas and rinse when directed. Pat the skin dry afterward instead of rubbing to keep the color looking even.
What to Do Before You Start Applying Self Tanner
Self tanner goes on best over skin that is freshly cleansed, fully dry, and lightly balanced with moisturizer only where color tends to grab too hard. The goal is not to coat your whole body in lotion first. It is to create an even canvas, especially on elbows, knees, ankles, wrists, hands, and feet, so those areas do not end up several shades deeper than your legs, arms, stomach, or chest. If you are coming in with leftover color, rough patches, or damp skin from a rushed shower, the finish usually tells on you immediately. Exfoliating before tanning removes that rough texture and gives you a cleaner base to start from
Keep the setup simple and deliberate. Take your shower first, dry off completely, then wait until your skin feels neutral rather than steamy or tacky. Tie back your hair if you are blending onto the neck and up to the hairline. Lay out your mitt, the self tanner, a light moisturizer, a mirror for the back and side angles, and a clean towel for your hands or any quick cleanup. A seamless result comes from prep and restraint just as much as from the formula itself, so think of the routine in three parts: prepare the dry zones, apply in a clear body order, then leave the product alone long enough for the color to settle evenly.
What You Need for a Smooth, Even Application
Set everything within reach before you start. That keeps you from pausing mid-application with tanner drying on one leg while you search for a mirror or towel.
-
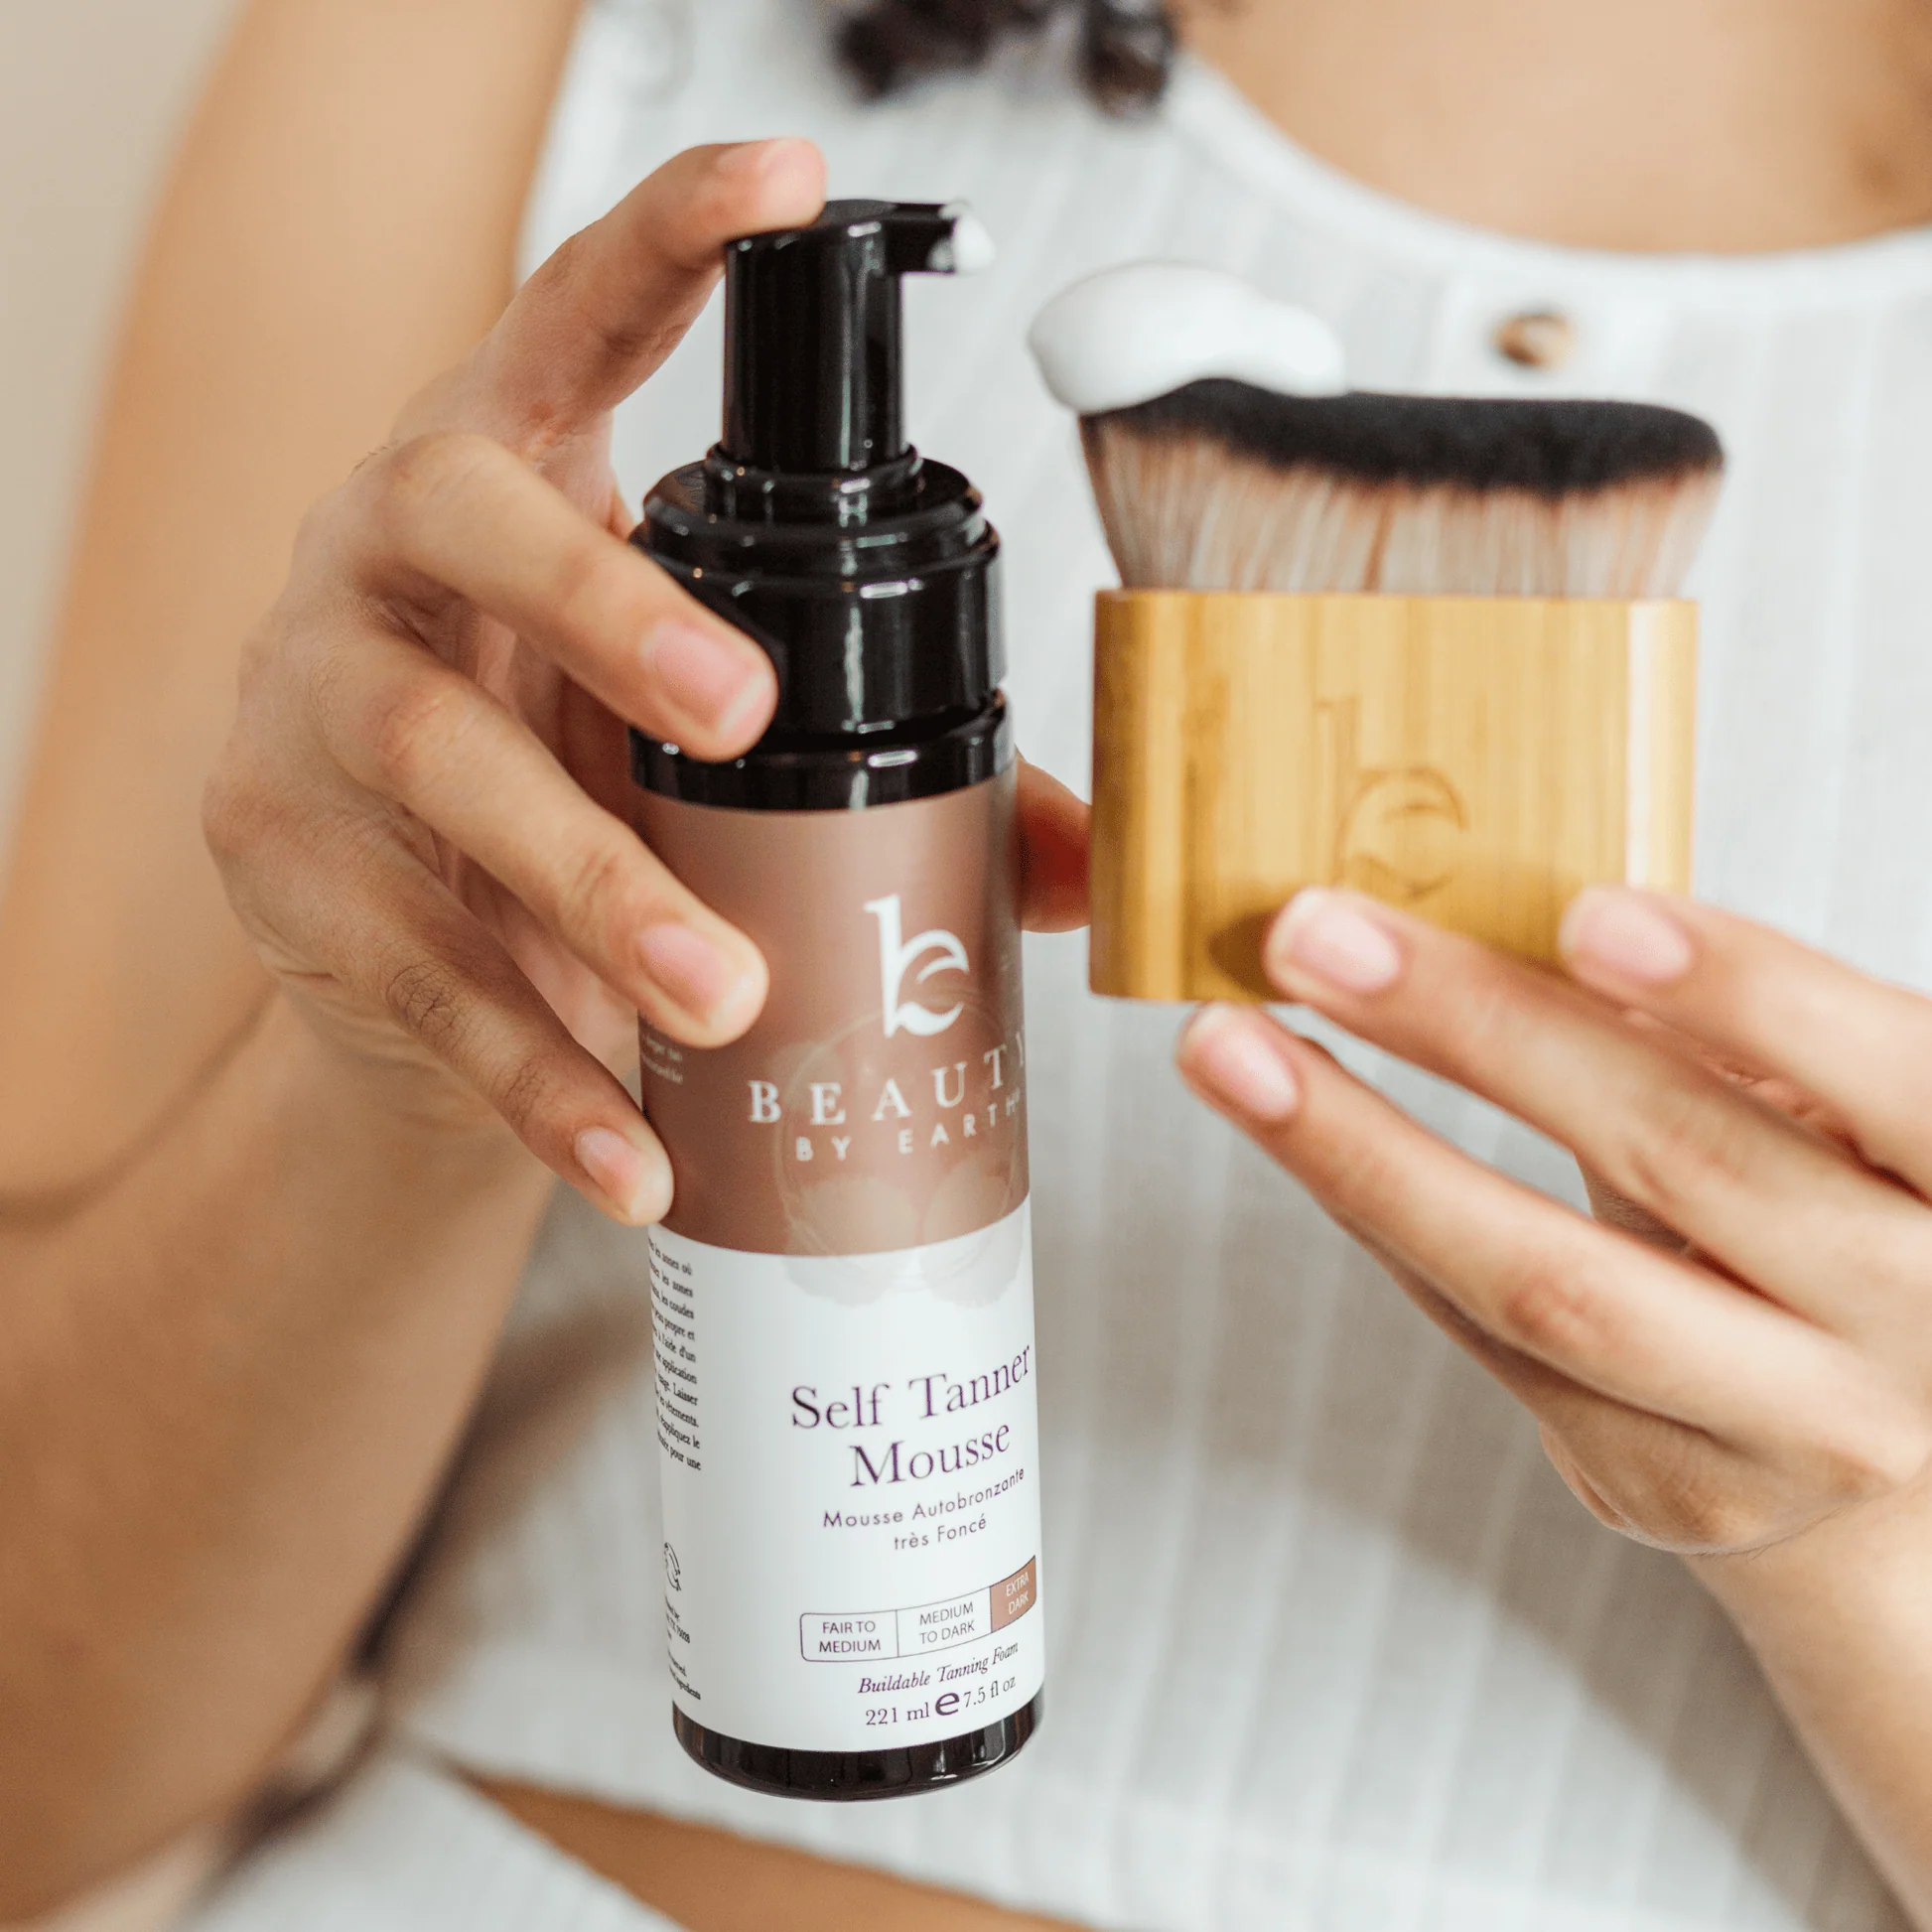
Choose your self tanner formula
Pick a format you can control easily. A mousse or foam usually spreads fast and often has a guide color that shows where you have been, while a lotion gives you more working time on dry skin and slower, softer blending. Whatever you choose, stick with one formula per session so the finish develops consistently from legs to chest.
-
Grab an application mitt
Use a mitt instead of bare hands so product spreads in a thinner, more even layer. The mitt also helps you buff edges at wrists, ankles, and the hairline without leaving dense fingerprints or palm marks. Before moving on, make sure the mitt is clean and completely dry so it glides rather than drags.
-
Keep a light moisturizer nearby
Reach for a plain, light moisturizer, not a rich body butter that leaves a heavy film. You only need a small amount on elbows, knees, ankles, wrists, knuckles, cuticles, and any visibly dry patch. That light buffer helps those zones build color more softly while the rest of the body develops at a similar depth.
-
Use a mirror and a clean towel
A mirror lets you check the back of the arms, shoulder blades, calves, and the line where neck meets hairline. A clean towel gives you an easy reset if product gathers on the wrists, palms, heels, or nails. At this point, your station should let you apply without leaving the room or touching clothing, handles, or your phone.
Step-by-Step: How to Apply Self Tanner Correctly
Follow the sequence below without jumping ahead. The fastest way to get an uneven result is to bounce between body areas instead of finishing one zone cleanly before the next.
Step 1: Prep your skin
Start with skin that has been washed, dried, and given a minute to cool down. If you need to remove leftover color or smooth rough texture, do that before the session, not halfway through. Then apply a very light layer of moisturizer to elbows, knees, ankles, wrists, hands, feet, and any flaky patch. For a full prep routine before self tanning, preparing your skin correctly makes a visible difference in the final result. on the legs or arms. You are not making the whole body slippery. You are softening the spots that hold too much pigment. Check the surface with your hands before moving on: the stomach, chest, thighs, and forearms should feel dry and smooth, while the dry points should feel lightly balanced rather than shiny.
Step 2: Apply self tanner in sections
Load a small amount of product onto the mitt and begin with the larger body zones first. A reliable order is legs, then arms, then stomach and chest, then back, leaving hands and feet for later when the mitt holds less formula. Work one section at a time, such as one lower leg, one thigh, one forearm, or one side of the torso, using long circular sweeps or smooth passes that overlap slightly. You want a thin, even veil, not wet stripes. Once that is done, step back and look at the area from two angles. If you can still see pale gaps or dark swirls in the guide color, buff them out now before reloading the mitt.
Pressure matters here. On broad areas like thighs, calves, upper arms, stomach, and back, use enough contact to spread product quickly without pressing the mitt flat into every pass. On the chest, especially near the center and collarbone area, use a lighter hand because that skin can show buildup more easily. Before moving on to the next zone, make sure the color looks consistent from edge to edge. A well-finished section should look softly bronzed and uniform, with no obvious start-and-stop marks.
Step 3: Use less product on hands, feet, elbows, and knees
At this point, the mitt should have only residual product left, and that is exactly what you want for the dry, grab-prone zones. Glide the mitt lightly over elbows and knees with the joint slightly bent so the formula does not collect in the fold lines. Then move to the tops of the hands and feet using short, feathered motions rather than a full fresh pump of product. Blend over the knuckles, around the thumb area, across the top of the foot, and lightly around the ankle bones. Keep the palms, nails, and soles free of tanner.
If those areas still need a touch more color, add the smallest possible amount to the mitt and buff again instead of laying down a heavy coat. Dark joints usually come from too much product, not too little. The visible cue you want before continuing is gentle color that connects to the arms and legs without looking denser at the knuckles, knees, heels, or elbows.
Step 4: Blend your back, wrists, ankles, and hairline
Now handle the places that reveal the application if they are left unfinished. Use your mirror to check the back, the edges of the shoulders, the backs of the calves, and the line where the arm meets the wrist or the leg meets the ankle. If you are applying to the back yourself, reach across with the mitt and work in broad overlapping passes, then review from the mirror for pale strips near the spine or shoulder blades. For wrists and ankles, do not build a band of color right at the joint. Use a nearly dry mitt and feather upward and downward so the tan fades naturally from forearm into hand and from shin into foot.
Face-adjacent blending should stay soft. If you extend color onto the neck, use whatever is left on the mitt to lightly diffuse around the jaw and near the hairline rather than coating those borders heavily. A clean finish here looks almost invisible. You should not be able to point to the exact place where chest becomes neck, wrist becomes hand, or ankle becomes foot.
Step 5: Let the tanner set before getting dressed
When the whole body is finished, stop touching it. Stand or sit on your towel and give the formula time to settle until the surface feels dry to the touch instead of tacky. Keep your arms slightly away from your sides for a few minutes, and do not cross your legs or lean into furniture while the guide color is fresh. If you need to get dressed, choose loose, dark clothing that does not press tightly at the waistband, under the arms, or around the knees and ankles.
This pause matters because friction can shift product before development is underway. A quick check helps here: lightly press the back of your hand to your stomach or thigh. If it still feels sticky, give it more time. Move on only when the finish feels settled and the color looks undisturbed across the body.
Step 6: Rinse or leave on based on the product instructions
The final step depends on the formula, so follow the stated development window rather than guessing. Some self tanners are designed to be rinsed after a few hours to remove the guide color, while others are leave-on formulas that continue developing without a rinse. If yours calls for rinsing, use lukewarm water and let the guide color run off gently without scrubbing. Pat dry with a towel instead of rubbing so the fresh color stays even.
If your formula is leave-on, keep the routine simple and let it develop fully before adding heavy body products. Either way, do not judge the result too early. Fresh self tanner often looks slightly different before the guide color is gone and before the final tone settles. The checkpoint for success is even depth from section to section, soft transitions at wrists and ankles, and natural-looking coverage across the legs, arms, stomach, chest, back, hands, and feet.
How to Fix Common Self Tanner Application Mistakes
Even with a careful routine, small issues can show up. Fix them based on what you see, not by adding more product everywhere.
If your tanner looks streaky
Streaks usually mean the product was applied over skin that was still damp, or one section dried before it was fully blended. There is a full guide on how to fix a streaky self tan if the result needs correcting after development. If the tanner is still fresh, buff the area immediately with a clean mitt using small circular motions to soften the lines. If it has already developed, smooth a tiny amount of light moisturizer over the harshest edges, then even out the surrounding zone with a very thin balancing layer at your next application. For the next session, finish each body section completely before you reload the mitt and move on.
If joints turn too dark
Elbows and knees go too deep when dry skin gets the same amount of product as the thighs or forearms. If the patches are already developed, the guide on fixing a patchy self tan covers exactly how to correct them. To correct it, apply a small amount of moisturizer to the joint and gently buff the area to break up the heavy patch, focusing on the center of the elbow or kneecap where buildup is strongest. If you need to rebalance the look later, add only a whisper of color around the surrounding skin, not another full coat on the joint itself. Next time, moisturize those spots first and use only residual product there.
If your hands or feet look uneven
Uneven hands and feet usually come from using fresh product instead of leftover product, or from stopping too sharply at the wrists and ankles. Blend a little moisturizer over the tops of the hands or feet and soften the dense areas toward the fingers, toes, wrist bones, and ankle bones. If one side still looks lighter, add a tiny amount of tanner to the mitt and feather across the whole top surface rather than dotting the exact spot. On your next round, leave hands and feet until the end and let the mitt be nearly dry before touching them.
If you miss a spot
A missed spot happens when the body order breaks down or the lighting is poor enough that a pale patch slips through. If you catch it while the product is still developing, add a small amount to the mitt and blend beyond the edge of the bare area so it melts into the surrounding color. If you only notice after the first rinse, wait until the skin is fully dry, then apply a thin layer just to that section and lightly overlap the border. Build the habit of checking calves, the backs of arms, side torso, back, and hairline in the mirror before the setting time starts.
How to Make the Finish Look Better and Last Longer
A good application can still fade unevenly if the follow-through is sloppy. Keep the next few days simple and consistent so the color wears down as evenly as it went on.
Wait before showering or sweating
If the formula is still setting or developing, give it the full window listed on the product before you shower or do anything that leaves skin damp. That one adjustment keeps the guide color from shifting and helps the final tone settle evenly across the stomach, chest, backs of knees, and inner arms where friction shows first. The result is a cleaner, more uniform finish instead of patchy areas that look lighter for no obvious reason.
Moisturize consistently after development
If your color starts looking dry around elbows, knees, shins, or ankles, the fix is not more tanner right away. Add a light, plain moisturizer once or twice a day after the development period is complete. Moisturizing after tanning is also one of the most effective habits for keeping a natural tan looking even longer, and spread it evenly over the whole body instead of only the deepest areas. That habit helps the color fade at a similar pace from legs, arms, hands, and feet, which makes the bronze finish look smoother for longer.
Reapply with a light hand
If you want to deepen the tone or keep it going through the week, refresh the color with a thin layer on the larger areas first and only a trace on dry zones. A light reapplication every few days usually looks better than waiting for a full fade. Combining this habit with a proper routine to maintain your tan longer gives you much more consistent results week to week. Keep the same order each time, and when you reach wrists, ankles, elbows, knees, hands, and feet, use the mitt only after most of the product has already been worked through the legs, arms, stomach, chest, and back.