Best Self Tanner for Pale Skin: Natural-Looking Results Without Orange
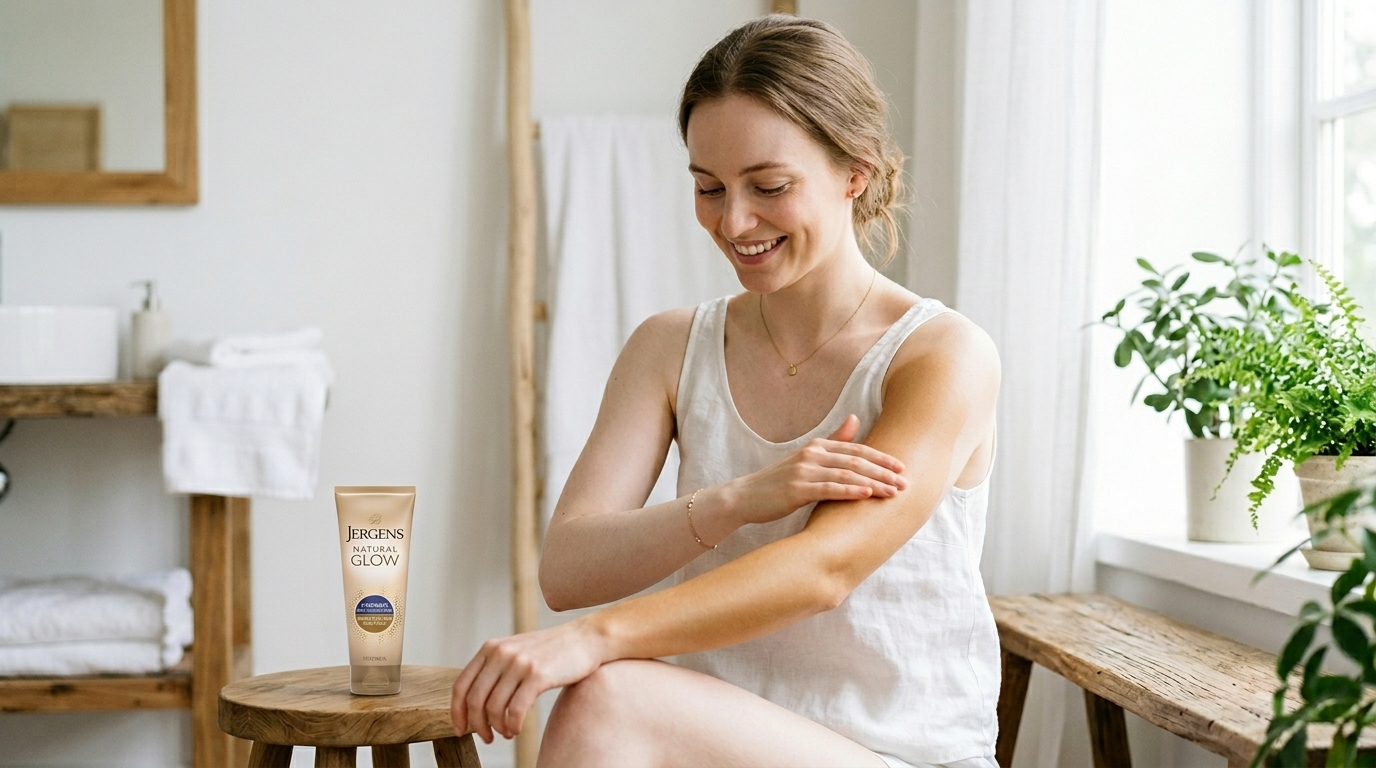
If you have pale skin, most self tanners will look too orange or develop unevenly. The issue is not your skin. It is the formula. The right self tanner for pale skin uses a lighter color load and a base tone that does not clash with your undertone. When you get that right, the result looks natural instead of obvious.
Below are the self tanners that consistently work better for fair skin, plus what to look for before you pick one.
The good news is that the mismatch is predictable. Once you understand what drives it, picking the right formula becomes a much shorter process than trial and error.
This guide covers what to look for in a self tanner for pale skin, which products tend to work well for fair and cool-toned complexions, and how to apply them so the result looks like color that belongs on your skin, not color sitting on top of it.
Why pale skin and self tanner go wrong
The main active ingredient in self tanners is a colorless sugar compound called DHA, which reacts with the outermost layer of skin to create a temporary bronze tone. The depth and warmth of that tone depend on two things: how much DHA is in the formula, and how your skin responds to it.
Fair skin tends to react more intensely to higher DHA concentrations. What produces a believable medium bronze on someone with a deeper base can push well past golden into outright orange on pale skin. This is not a flaw in your skin. It is a mismatch between formula strength and skin response.
The other factor is undertone. Pale skin often runs cool or neutral, with pink, peach, or slightly blue-red tones underneath. Many self tanners are formulated with a warm golden base, which looks natural on olive or warm-toned complexions. On cool-toned fair skin, that same warmth competes with the natural undertone rather than blending into it, and the result reads artificial.
Both problems are fixable through product selection, not technique alone. Choosing a formula with a lower color concentration and a base tone that complements rather than clashes with your undertone is what separates a convincing result from an obvious one.
What to look for when choosing a self tanner for pale skin
Lower color concentration
For pale skin, a formula with a lighter shade or a lower overall color load is almost always a better starting point than jumping straight to medium or dark options. The goal is not the deepest possible tan. It is a tan that looks like your skin just had a good week outdoors.
Gradual formulas are particularly well-suited here because they build color slowly with repeated use, so you stay in control of the depth at every step. If you want faster results, a light or light-to-medium mousse is a reasonable option as long as you apply thin layers and build gradually rather than going heavy on the first coat.
Base tone that works with cool or neutral undertones
Look for formulas described as neutral, olive-leaning, or with a violet or green guide color. These tend to counteract the natural warmth of DHA and read more balanced on skin that skews cool.
Formulas described as golden, bronze, or warm can work on pale skin if your undertone leans more peachy or yellow-neutral, but they carry more risk of pushing orange. If you are unsure of your undertone, a gradual or neutral formula is the lower-risk choice for a first test.
Buildable rather than full-coverage
A self tanner that builds color gradually is more forgiving than one that delivers a strong result in a single coat. The ability to stop at a subtle glow and add more only if you want it is worth more on pale skin than maximum intensity.
This is why drops mixed into a moisturizer tend to work well for some people with very fair skin. You control how many drops go in, which makes it easy to keep the result light and natural on the first application and build from there.
A format that applies evenly
On pale skin, streaks and patches are more visible than on deeper tones because the contrast between the tanned and untanned areas is higher. A mousse or foam with a visible guide color makes it easier to see where the product has landed and where it has not. Gradual lotions are more forgiving on application because the color builds slowly and minor inconsistencies even out over multiple uses. Clear formulas are the hardest to apply on pale skin because you are working without visual feedback.
The self tanners that tend to work well for pale skin
These products appear consistently across recommendations from people with fair and cool-toned skin and in editorial coverage aimed at that audience. None of them are guaranteed to work identically on every complexion, and a small test on a less visible area is always a sensible first step with any new formula.
How to apply self tanner on pale skin
The product matters, but application technique accounts for a large part of the result. On pale skin, where contrast between tanned and untanned areas is higher, the margin for uneven patches is smaller than on deeper complexions.
Exfoliate the day before, not the day of
Exfoliating the day before application removes dead skin buildup and creates a smoother, more even surface for the formula to develop on. Exfoliating immediately before tanning can leave skin slightly sensitized and inconsistent. The day-before timing gives the surface time to settle. Focus on areas that tend to collect product: elbows, knees, ankles, and the tops of feet.
For more detail on how and why exfoliation changes the result, the guide on why you should exfoliate before tanning covers the reasoning behind the timing.
Moisturize dry spots, not everything
Before applying self tanner, add a light layer of moisturizer only to the driest areas: elbows, knees, heels, wrists, ankles, and around the fingers. These zones absorb more product than the rest of the body and develop darker as a result. A thin buffer there slows the absorption slightly and keeps those areas from pulling ahead of the broader skin tone.
Avoid moisturizing the whole body right before tanning. A thick all-over layer dilutes the formula and makes it harder to apply evenly.
Use a mitt and keep the layers thin
A tanning mitt distributes the formula more evenly than bare hands and prevents the palms from absorbing excess product and going dark. For pale skin, a light hand matters more than total coverage. Apply less than you think you need on the first pass. One thin, even layer developed fully gives you better information about the formula’s tone on your skin than a heavy application that overshoots before you can judge it.
For a detailed breakdown of application order and blending by body section, the post on how to apply self tanner correctly covers the full routine.
Use the residue on your mitt for joints and dry zones
After applying the main areas, use only what remains on the mitt to blend over elbows, knees, ankles, and the tops of hands. These areas need color, but they develop faster and darker than the rest of the body. Using residue rather than a fresh pump gives them color without concentrating too much formula in one spot.
Rinse earlier than the maximum time
Many formulas give a development window of six to eight hours or overnight. On pale skin, rinsing at the lower end of that range often produces a more natural result than wearing it for the maximum time. An express formula rinsed at one hour will give a lighter result than the same product left for three. Testing the shorter end first gives you a baseline that is easier to build on than correcting an overshoot.
Check the developed result in natural light
Bathroom lighting can make a self tan look more orange or more yellow than it appears in daylight. Check the developed color outside or near a window before deciding whether the result is working. What looks slightly warm indoors sometimes reads neutral in natural light, and vice versa. That check also tells you whether the formula is a good match for your skin before you commit to a second application.
What to do if the result is too orange
If the first application looks too warm, the most useful thing to do is identify where the orange is appearing and why, rather than removing everything immediately.
An orange cast only on elbows, knees, and ankles usually means those areas absorbed more product or held residue in the creases. The correction is targeted: soften the area with warm water, buff lightly with a mitt, and apply a small amount of moisturizer to blend the edge. The broader tan is often still salvageable.
An orange tone across the whole body usually points to a formula or shade mismatch. The fix is gradual removal through showering and gentle exfoliation, then choosing a lighter shade or a more neutral-toned formula for the next attempt.
The post on why self tanner turns orange breaks down the most common patterns in more detail, including how to adjust the approach based on where and when the warmth appears.
Best Self Tanner for Fair Skin: What Works and What Doesn’t
Fair skin and pale skin are the same starting point for self tanner purposes. Both describe skin with little to no natural melanin base, which means DHA reacts more intensely and any formula mismatch shows up faster and more obviously than on deeper tones. Every product and recommendation in this guide applies equally to fair complexions. The terms are interchangeable here.
If you’ve been searching for “best self tanner for fair skin” and landing on guides built around medium or olive skin, the issue is that most self tanner content isn’t written with your starting point in mind. The products above are specifically chosen because they’ve shown consistent results on the lighter end of the skin tone spectrum.
Self Tanner for Cool Undertones: Why It Changes Everything
Cool undertones are the most common reason a self tanner looks orange on pale skin even when the formula is technically “for fair skin.” Most self tanners are built around a warm golden base. On skin with warm or neutral undertones, that warmth blends in. On skin that runs pink, rose, or blue-red underneath, it competes with the natural tone and the result reads artificial.
The practical fix before buying anything: check your undertone. Look at the veins on your inner wrist in natural light. Blue or purple veins point to cool undertones. Green veins point to warm. A mix of both is neutral.
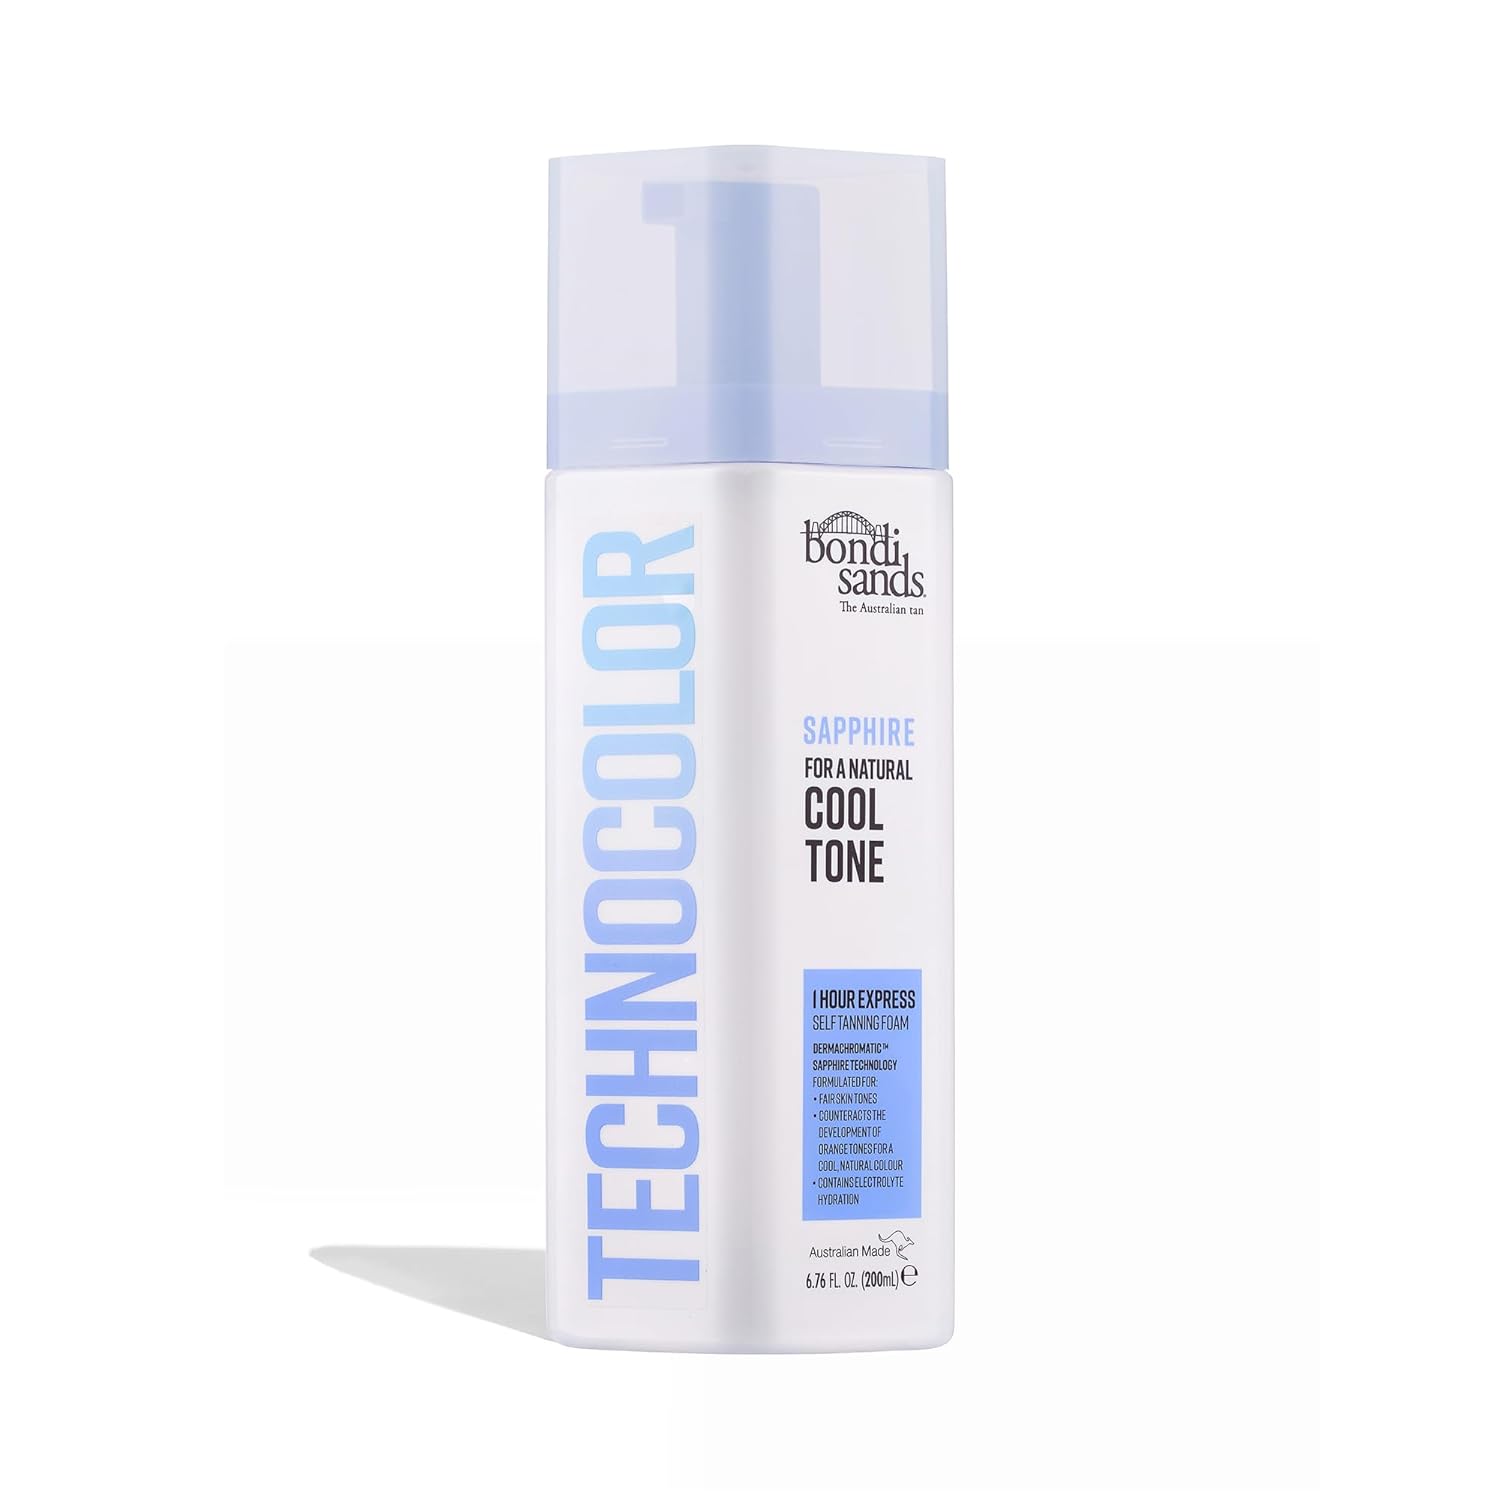
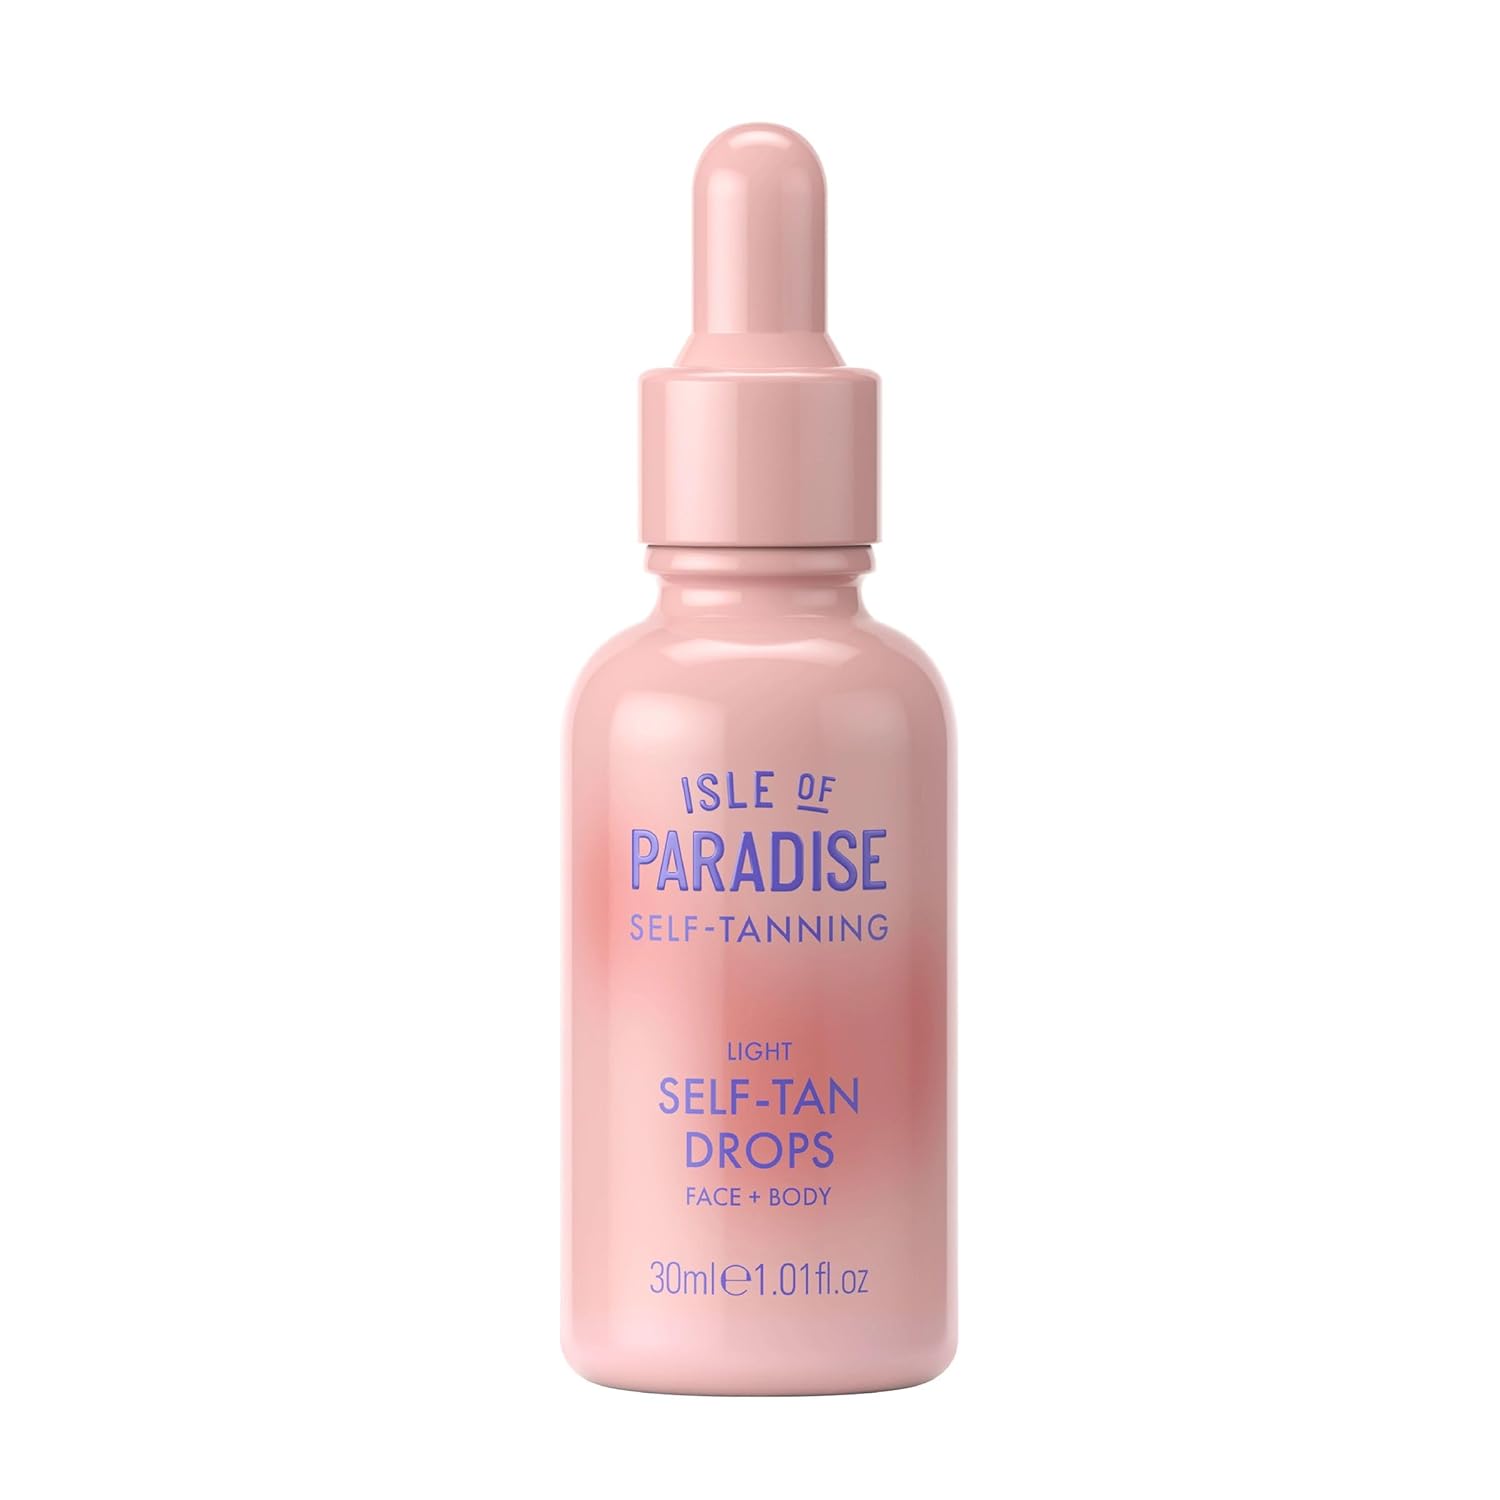
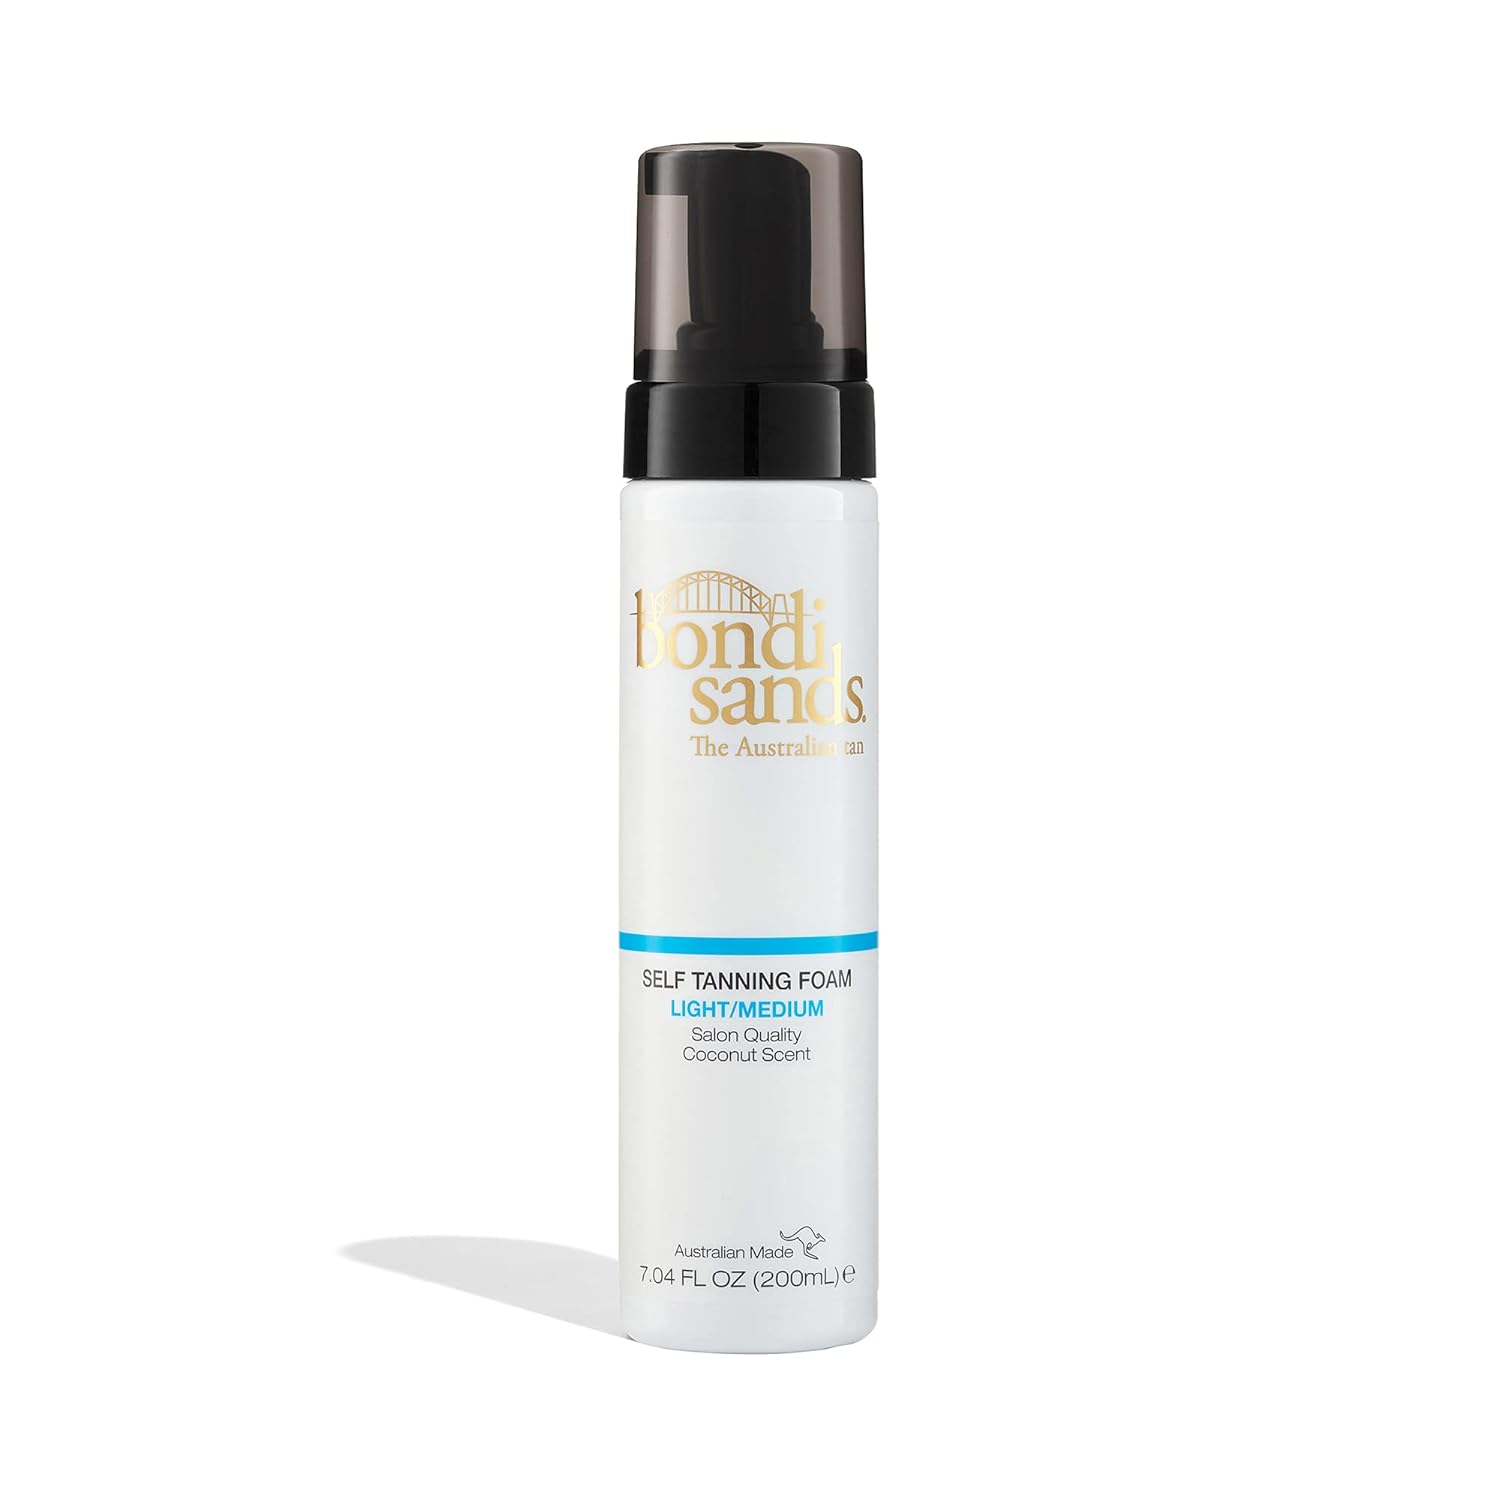
For cool-toned pale skin, look for formulas described as neutral, violet-correcting, or with a green guide color. Bondi Sands Technocolor Sapphire is one of the few mainstream options built specifically around this. Isle of Paradise Light drops also tend to work well because the Light shade is formulated around cooler and more neutral undertones. Avoid anything labeled “golden” or “bronze” as a first choice, those tend to amplify the warmth that’s already making results look off.
Best Self Tanner for Pale Skin Beginners
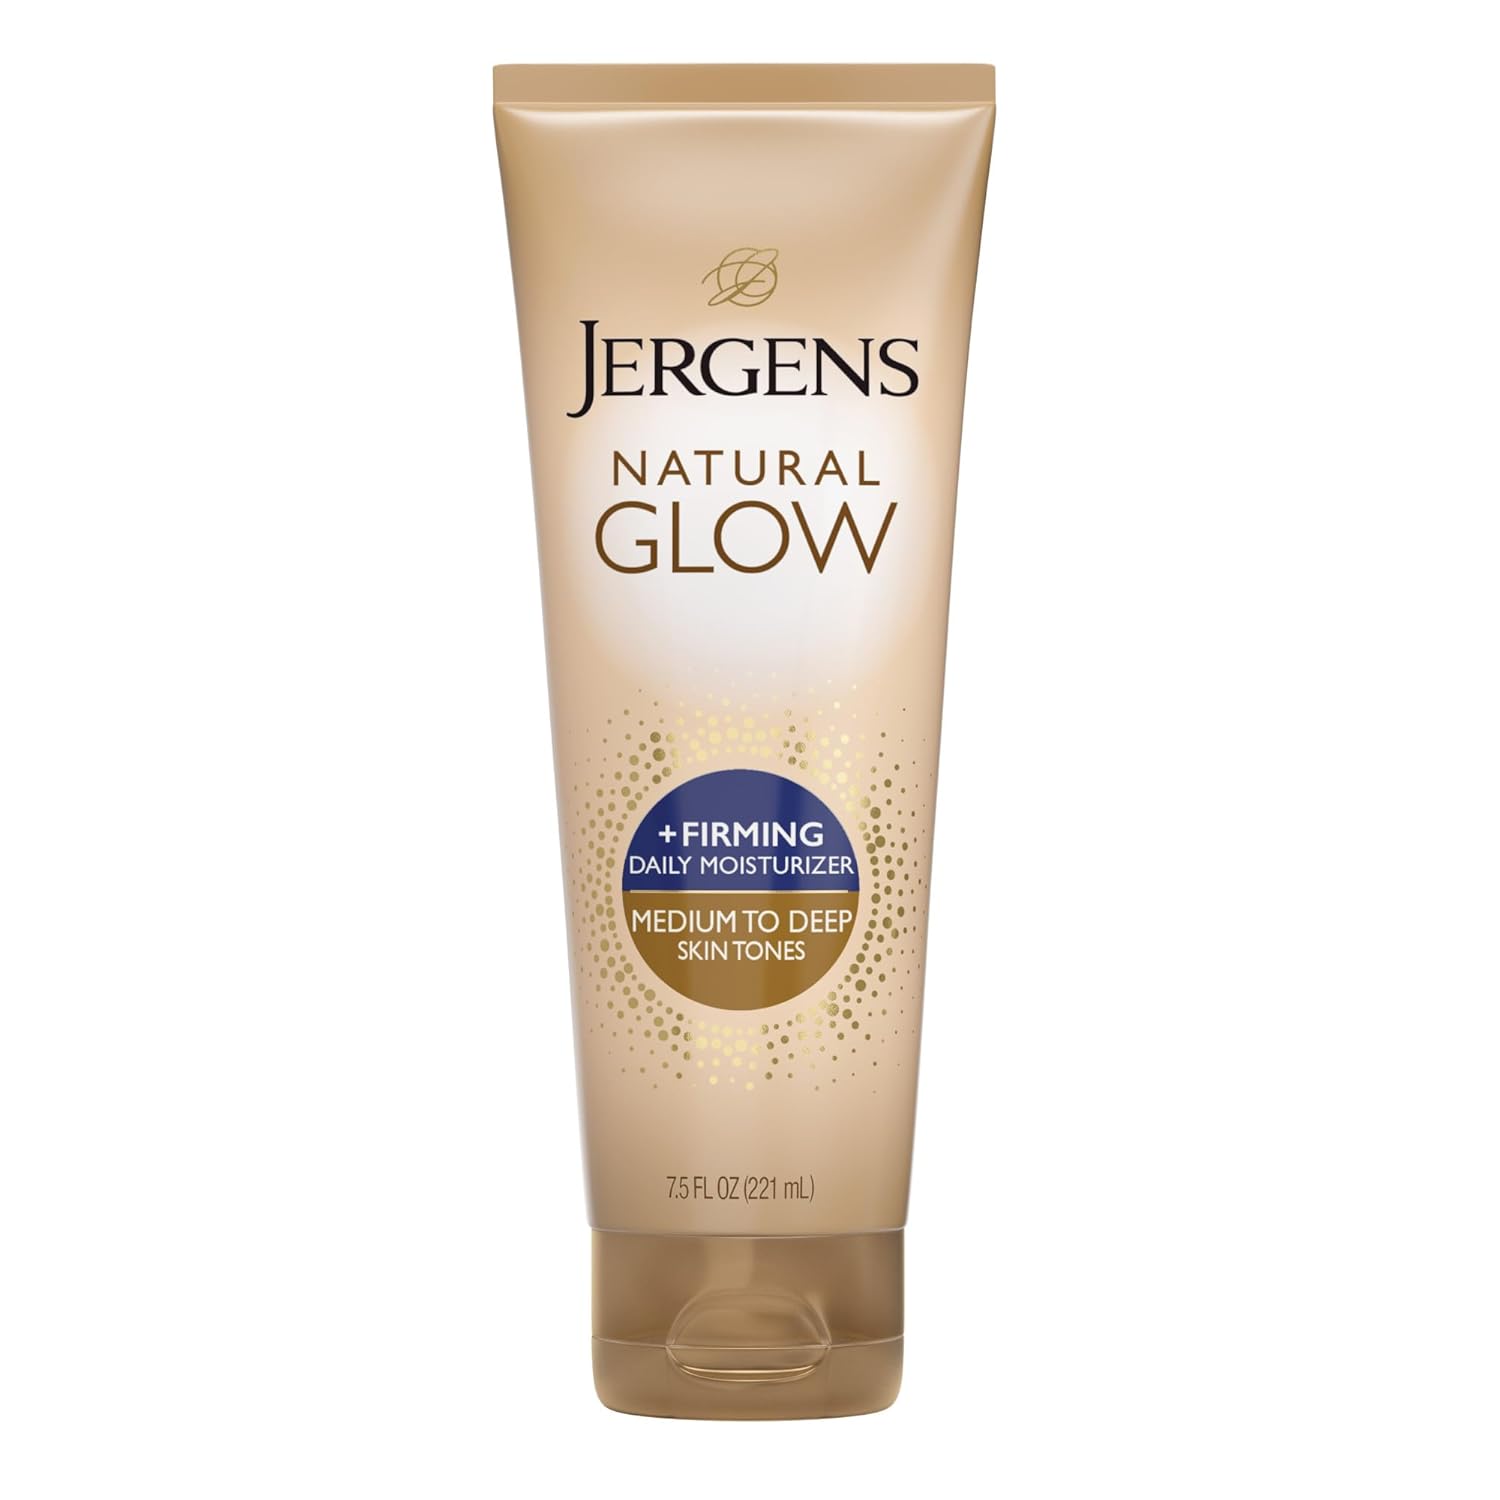
If you’ve never used a self tanner, the right starting point is a gradual formula, not a mousse. Gradual tanners build color over several days at a low concentration, which gives you time to see how your skin responds and stop at a natural-looking result before it goes further than you wanted.
Jergens Natural Glow Fair to Medium is the most accessible entry point in the US: available at every CVS and Walgreens, under $12, and forgiving enough that a slightly uneven application on day one doesn’t produce an obvious result. Isle of Paradise Light drops mixed into your existing moisturizer are the other beginner-friendly option if you want more control over the concentration from the first use.
What to avoid as a first product: dark mousses, express formulas, and anything labeled “intense” or “deep.” Those are designed for people who already know how their skin responds to DHA. On pale skin with no prior experience, they leave very little margin for a subtle result.
For the full application routine before your first session, the how to prepare skin for self tanning guide covers exactly what to do the night before.
Best Self Tanner for Pale Skin: What People Ask Before Buying
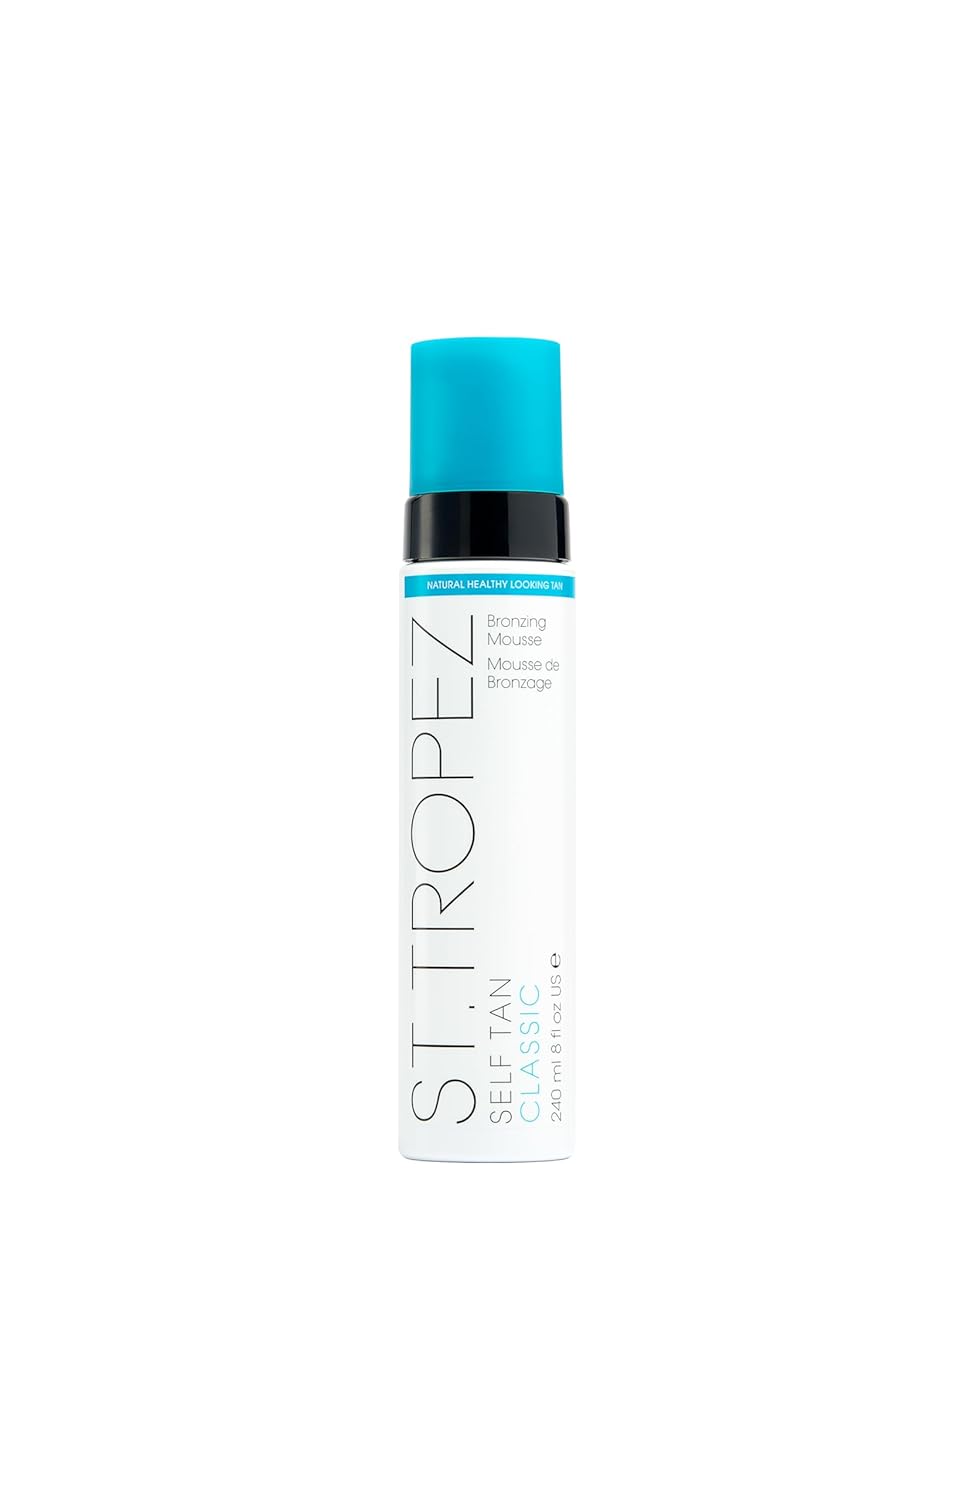
Yes, but a light hand makes a significant difference. Mousse delivers more color in a single application than gradual lotions, so pale skin benefits from thin layers, a conservative amount of product, and a rinse time at the lower end of the development window. Starting with a light or light-to-medium shade rather than dark is also worth the patience.
Formulas described as neutral, olive-leaning, or with green or violet-toned guide color tend to complement cool undertones better than formulas described as golden, bronze, or warm. The guide color in the bottle does not determine the final developed color, but it can give a rough indication of the formula’s base tone direction.
Testing the shorter end of the development window is a good approach. If the formula recommends four to eight hours, trying a rinse at four to five hours first gives you information about how the color looks on your skin before committing to maximum development time. A lighter result is easier to build on than an overshoot that needs correction.
Patchy fade on pale skin is often more visible because the contrast between the remaining tan and the fresh skin underneath is higher. Moisturizing daily, avoiding long hot showers, and exfoliating evenly before the next application all help the fade look more gradual. For troubleshooting an existing patchy result, the guide on how to fix patchy self tan covers the correction steps in detail.
What Does a Browning Lotion Do: How It Works and When It Makes Sense
Types of Tanning Bed Lotion: What Each One Does to Your Tan
Wearing Makeup in a Tanning Bed: What It Does to Your Color and When to Remove It
Why Your Self Tan Goes Patchy in These 7 Spots (And What’s Causing It Each Time)
Maui Babe Browning Lotion Before and After: What My Tan Looked Like Session by Session
Shaving the Morning of Your Tanning Session Is How You Get Strawberry Legs