Why Your Self Tan Goes Patchy in These 7 Spots (And What’s Causing It Each Time)
If your self tan goes patchy in the same spots every single time, it’s not a coincidence. And it’s probably not the product’s fault.
Each zone on your body grabs color differently. Ankles behave nothing like your stomach. Knees are a different problem from elbows. Once you know what’s causing it in each specific spot, the fix is usually one small change, not a complete overhaul of your routine.
Here’s why it happens in the seven most common problem zones.
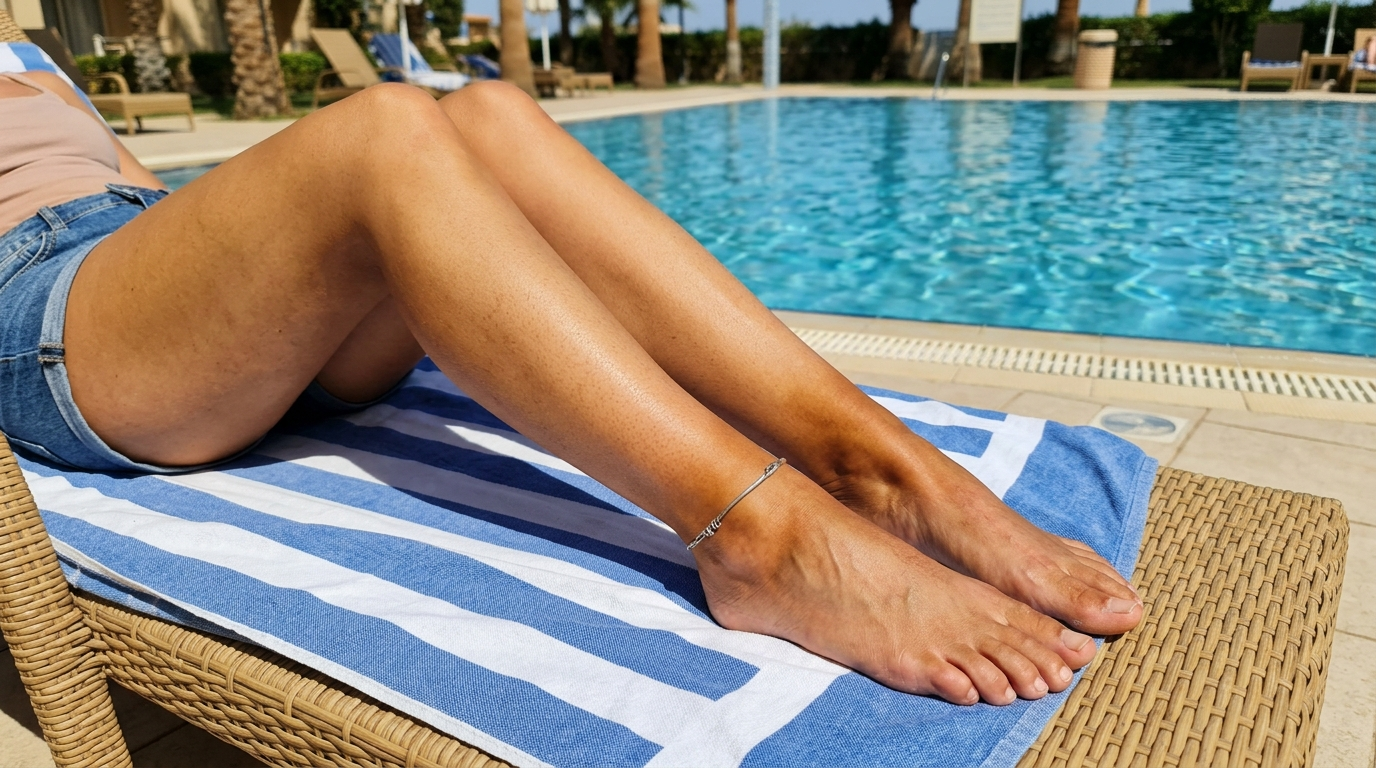
1. Ankles and wrists
This is the one that catches almost everyone at some point.
Ankles and wrists have naturally drier skin than the rest of your body, thinner coverage of natural oils, and a tendency to hold onto product in a way that reads as a ring of darker color once the tan develops. The crease around the ankle bone is especially bad for this. Color pools right in the indentation and develops twice as dark as the skin around it.

The fix isn’t more product. It’s less. Apply nothing directly to the ankle or wrist bone itself. Use only what’s left on the mitt after finishing the leg or arm, and feather lightly over those zones. That residue is enough to give color without the buildup.
If you’re already in patchy territory, the how to fix patchy self tan guide covers the correction sequence without making it worse.
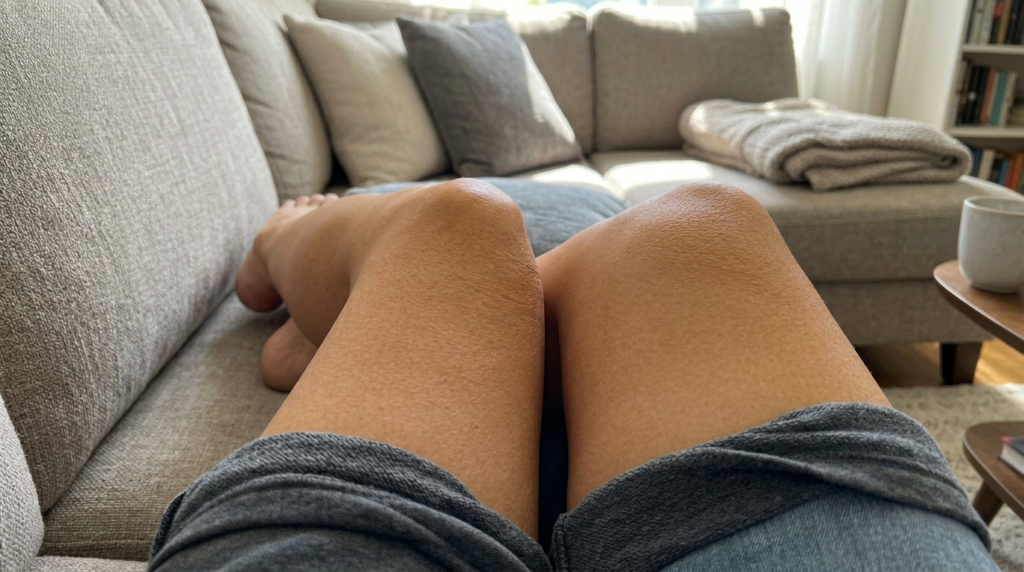
2. Knees
The knee is a grab zone. The skin there is rougher, drier, and has more texture than anywhere on your leg. Self tanner latches onto that texture and develops significantly darker than the surrounding area.
I’ve tried applying more product thinking I wasn’t blending properly. That made it worse every time. The actual issue is the surface, not the application.
What works: a very light layer of moisturizer on the knee before tanning. Not all over the leg, just the knee itself. That creates a thin buffer so the formula develops at a closer rate to the rest of the leg rather than going three shades darker on the cap.
If your knees always look darker than your thighs and shins, that’s what’s happening.
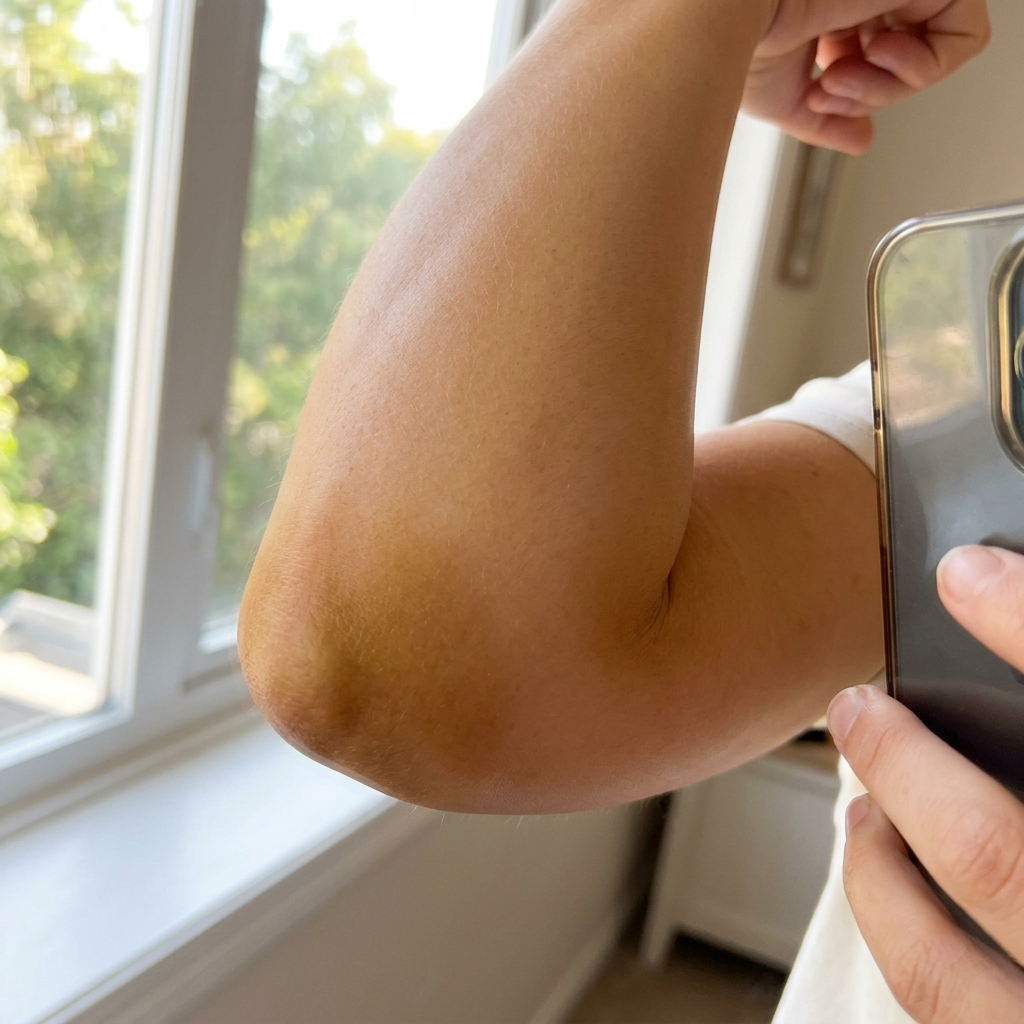
3. Elbows
Same logic as knees, different location. The elbow crease grabs color in the fold and the outer cap dries out fast. The combination produces a splotchy, almost bruised look once the tan develops.
The elbow is also where most people overapply without realizing it, because the joint feels like it needs more coverage. It doesn’t. It needs the opposite.
The move that changed this for me: when I reach the elbow, I flip the mitt over to the cleaner side and use only residue. I go over the outer cap once and the crease not at all. The color from the surrounding arm blends into both areas on its own during development.
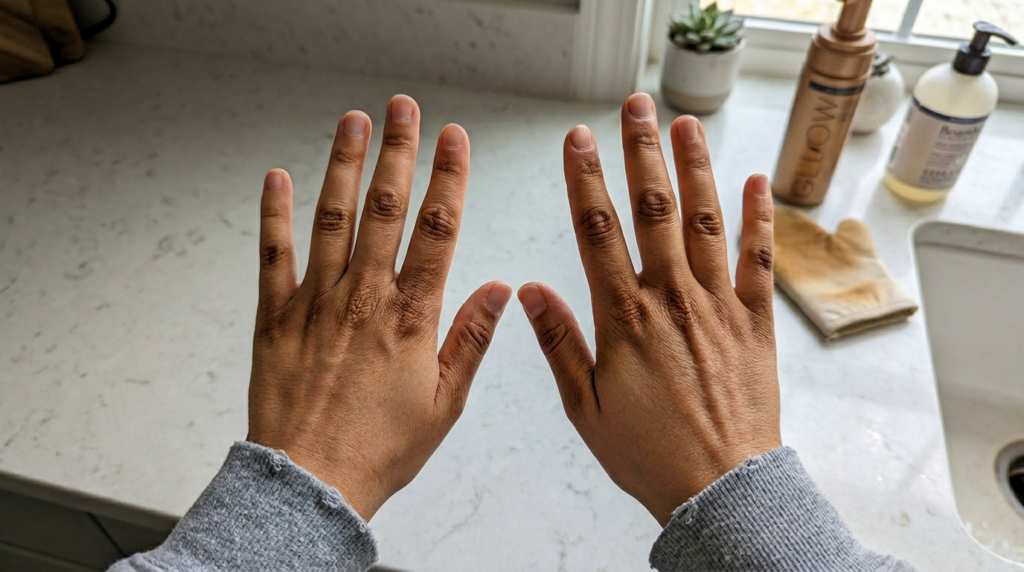
4. Hands and fingers
Hands are the zone where most self tans go visibly wrong, and the reason is almost always the same: too much product at the end of the application.
By the time you get to your hands, the mitt is still loaded with formula from doing your arms. Whatever you use to blend your hands carries full-strength product, and it concentrates in the knuckles, finger creases, and around the nails.
The standard advice is to wash your hands immediately after tanning. That works, but it also removes too much color from the backs of the hands if you use soap. What I do: finish the hands last with a dry mitt and no additional product, make one quick pass over the backs, then wipe the fingers and knuckles with a just-damp cloth. That removes the excess from the grab zones while keeping the color on the flatter areas.
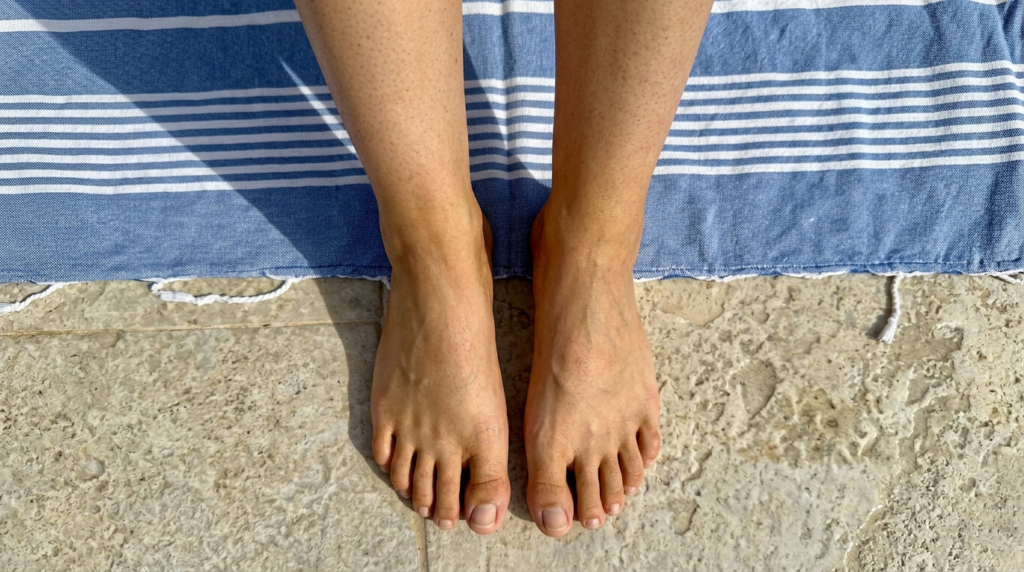
5. Feet and toes
Feet go patchy for two reasons. One is the same dry-skin issue as ankles. The other is that people genuinely forget them mid-application, then come back and put too much product on all at once.
The tops of feet are fine with a light residue pass. The toes need basically nothing. Any product that reaches the sides and undersides of toes will pool in the skin folds and develop as dark rings that take days to fade.
The easiest approach: don’t apply anything directly to the foot. Let the mitt pick up residue as you finish the lower leg and lightly sweep downward over the top of the foot and over the toes in one motion. That’s genuinely enough for a natural result.
6. Forehead and hairline
The forehead goes patchy in a specific way: the center of the forehead develops evenly, and the hairline turns significantly darker. It can look like a stripe of color sitting right where the hair starts.
Two things cause this. First, hair and skin texture at the hairline hold product differently. Second, people often apply more pressure there instinctively because it’s harder to blend near hair.
For the forehead, I use only fingertips with a very thin layer, and I stop about two centimeters before the hairline. The color diffuses naturally toward the edge as it develops. If the hairline still tends to grab, a thin line of barrier cream or lip balm along the hairline before applying keeps the product off that strip completely.
7. Shins and lower legs
Shins fade faster than everywhere else and often peel unevenly, which makes them look patchy even when the original application was clean.
The shin bone sits close to the skin surface with minimal cushioning, which means the skin there dries out faster and the tan fades in patches rather than evenly. It’s also a high-friction zone from clothes, which accelerates the uneven wear.
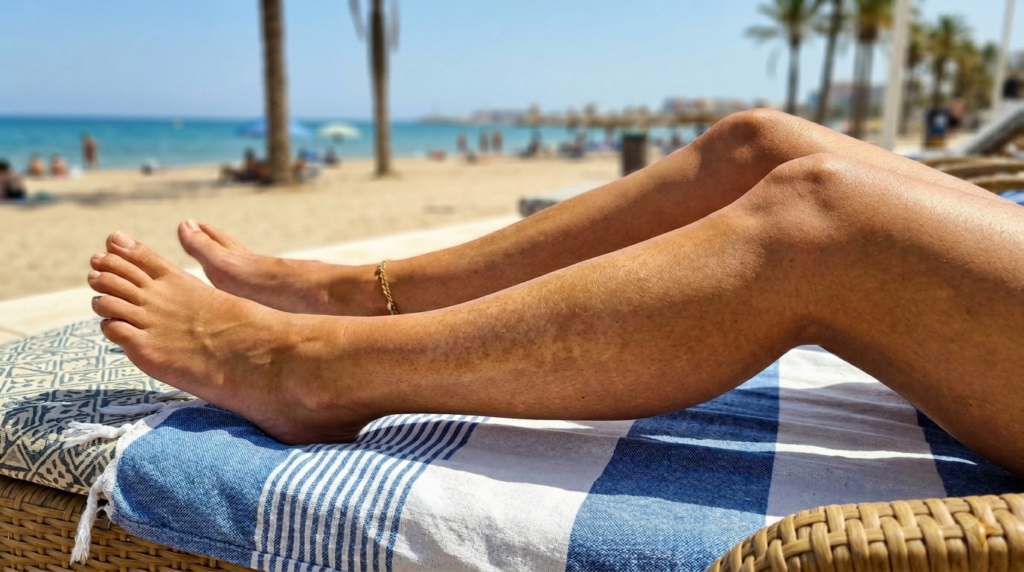
The fix is less about application and more about maintenance. Moisturizing the shins specifically, not just a general all-over routine, after every shower extends even color noticeably. The exfoliate before tanning guide explains why the prep before the next application matters even more for shins than anywhere else.
The pattern behind all of them
Every zone on this list goes patchy for one of three reasons: the skin there is drier than the surrounding area and grabs more color, the skin texture creates folds or creases where product pools, or friction after application removes color unevenly.
Once you know which of the three is causing the problem in your specific spot, the fix is almost always one of these: less product in that zone, a light moisturizer buffer before applying, or more consistent hydration between sessions.
None of it requires a different formula or starting over. Usually one small adjustment in the right place is the whole answer.
For the full correction process when the patchiness is already there, the streaky self tan fix guide covers what to do without making the uneven areas worse.
Still going patchy? These are the questions I get asked most
Ankle skin is naturally drier and the bone creates an indentation where product pools and develops darker than the surrounding area. Using only the residue left on the mitt after finishing the leg, rather than applying product directly to the ankle, prevents the buildup. A thin layer of moisturizer on the ankle bone before applying also helps distribute color more evenly.
Knee skin is rougher and drier than the surrounding leg, which causes self tanner to develop more intensely there. Applying a small amount of moisturizer to the knee only before tanning creates a buffer that slows down color development in that zone so it matches the rest of the leg more closely.
The most common cause is too much product reaching the hands at the end of application. Finishing the hands with only the residue on the mitt rather than fresh product, then wiping knuckles and finger creases with a barely damp cloth immediately after, removes the excess without stripping the color from the flat areas.
Shin skin dries out faster than most areas because there is minimal cushioning between skin and bone, and friction from clothes accelerates uneven wear. Moisturizing the shins consistently after every shower extends even color longer than a general all-over routine.
Yes. Stopping application two centimeters before the hairline and letting the color diffuse naturally toward the edge during development usually prevents the darker stripe. A thin barrier of lip balm or cream along the hairline before applying keeps product off that edge entirely if it consistently grabs.
How to Get Rid of Tan Lines: The Fix That Actually Works Overnight
That’s What Sea Said Tanning Lotion Review: What It Does After Multiple Bed Sessions
Best Shimmer Body Oils: Picks by How You Use Them
Self-Tanning: The Complete Guide
Best Shimmer Body Sprays for a Bronzed Glow
My 10-minute self-tan routine saves me at least 30 minutes every week.