
Shaving Before Tanning: The Timing Rules (and Why I Switched to the Philips Lumea)
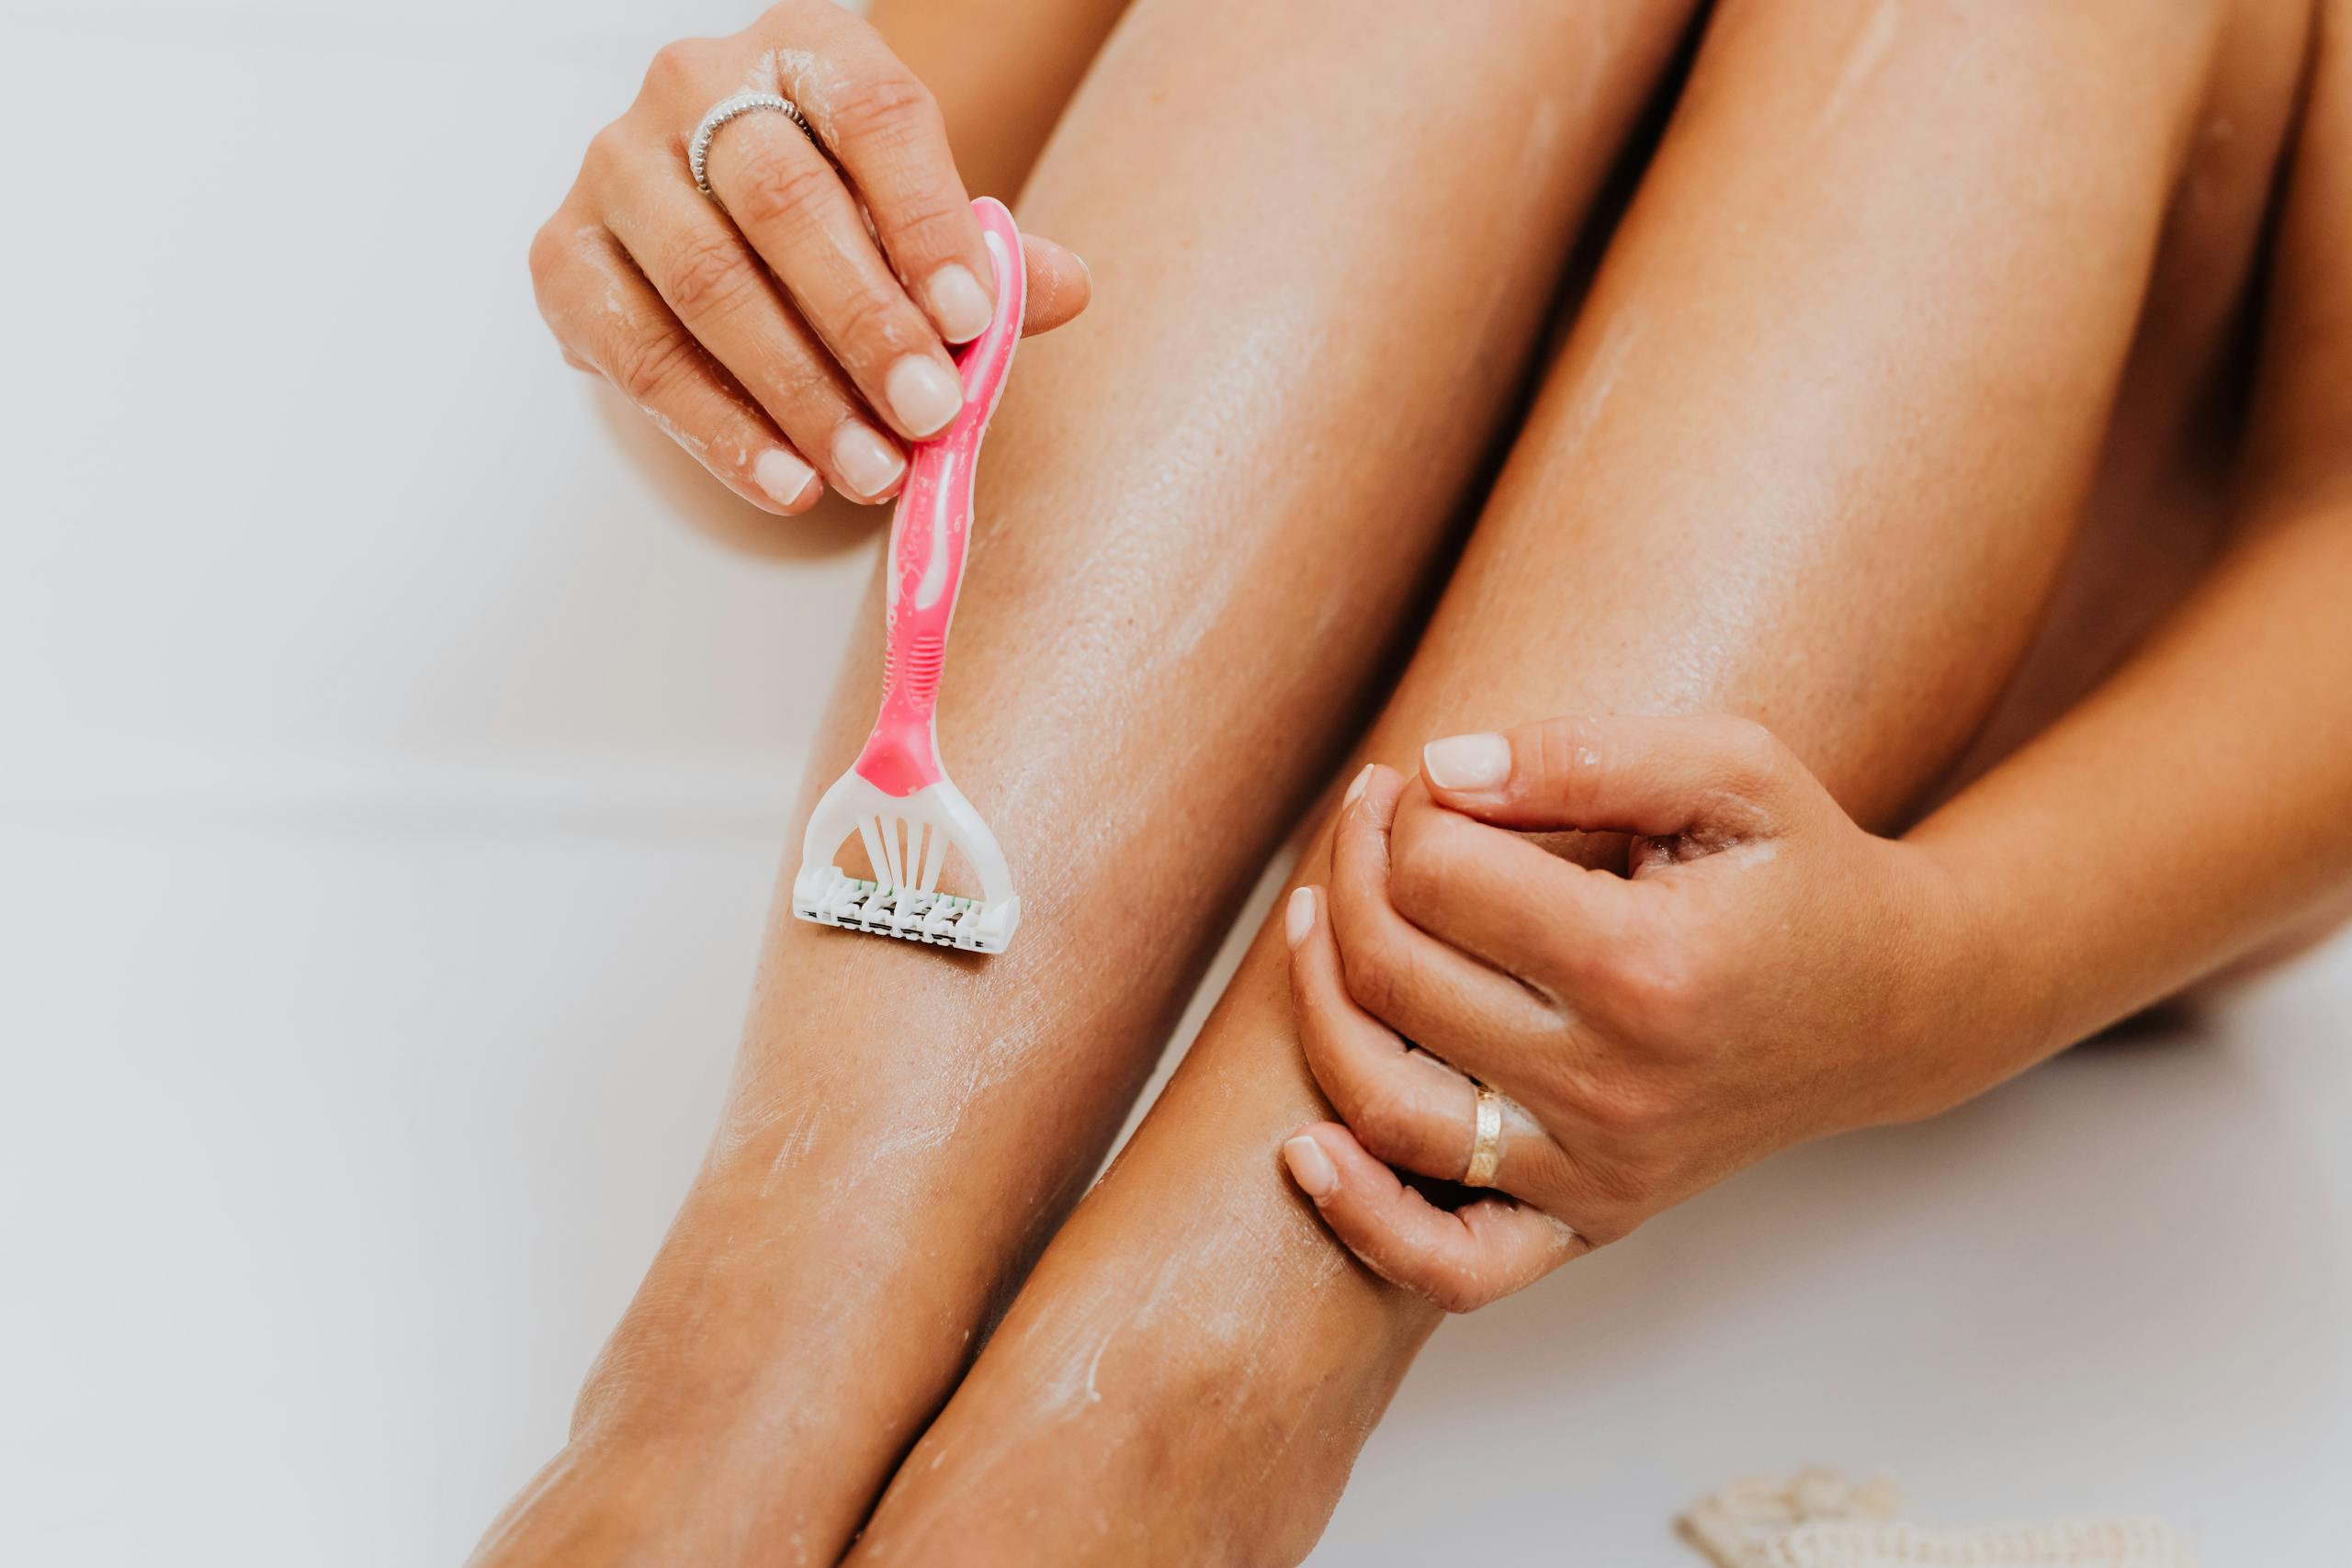
I have been managing shaving timing around tanning sessions for years. Now I use the Philips Lumea 9000 and most of that math is gone. Below is what I learned the hard way before I got there.
The question sounds simple. The answer has three versions depending on how you tan, and mixing them up is what causes most of the problems people run into.
Short version: always before, never right before, and the exact timing is different for a tanning bed versus sun versus self-tan. Get the window wrong and you see it in the result.
Shaving before a tanning bed
This is where timing matters most, and where I learned it the hard way.
I went into a tanning bed having shaved my legs that morning. Short session, nothing unusual. Came out with what looked like strawberry skin on my legs, small dark dots all over the surface. Took me two sessions to figure out what had happened.
When you shave, the hair follicle opens up slightly. In a normal situation that closes within a few hours. Inside a tanning bed, the heat and the UV together keep that follicle open longer, and the lotion you apply before the session settles right into it. The result is tiny dots of concentrated color sitting exactly where each follicle was. It looks like a fine dark speckle across the skin, and it is much more visible on legs than anywhere else.
The fix is simple: shave 24 hours before, not the day of. That window gives the follicle time to close and the skin to settle. I now do it the evening before every session and it has never been an issue since.
If you forget and realize the morning of, do a cold rinse in the shower before you go in. Cold water helps close the follicle faster than leaving it. It is not a perfect solution but it reduces the risk noticeably. What I do when I am cutting it close: cold shower, pat dry, go to the session with no lotion on the legs for the first few minutes to let the skin settle before applying.
If you are new to tanning beds and still figuring out the basics of prep and session structure, the first time tanning bed guide covers everything in one place.
Shaving before tanning in the sun
More forgiving than the bed, but not without its own logic.
The strawberry leg issue does not really happen outdoors because there is no enclosed heat pushing lotion into open follicles. What does happen with freshly shaved skin in the sun is that the surface is slightly more reactive to UV, especially in the first few hours after shaving. You can end up with patchy redness on legs that took more intensity than the rest of the body.
The same 24-hour window works here too. If I am planning a beach morning, I shave the night before. Not because I am worried about dots, but because the skin just behaves more evenly when it has had time to settle.
For waxing, give it 48 hours minimum. Waxing leaves the follicle more open than a razor and the area slightly more reactive. Going into strong sun the same day as a wax is how you end up with redness that outlasts the tan.
Shaving before self-tanner or spray tan
Different reason here, same conclusion on timing.
A razor blade has a moisturising strip. That strip leaves a fine invisible film on the skin as it passes. Most people never notice it because it does not change how the skin feels. Self-tanner notices it. The DHA (dihydroxyacetone — the active color-developing ingredient in self-tanner) does not adhere evenly across that film, and the result is thin faint lines following exactly where the razor went, usually only visible at certain angles but still there once you know to look for it.
24 hours before solves it completely. The residue from the strip breaks down naturally within a few hours, and by the next day the skin is clean.
Depilatory creams have a similar issue. The chemicals they use to dissolve hair also leave residue that interferes with self-tanner development. 48 hours minimum for those.
Spray tan is even more sensitive to surface prep than at-home self-tanner because the application is finer and any unevenness in the surface shows up more clearly in the result. If you are doing a professional spray session, do not shave the same day. The night before is the standard recommendation from every spray tan specialist I have spoken to.
Once the skin is prepped the right way, the exfoliation timing matters just as much as shaving. The exfoliate before tanning guide covers the full prep sequence and why the order of steps changes the result.
Hair removal method changes the timing
Not all removal methods are equal. Here is the quick reference:
| Method | Minimum timing | Why |
|---|---|---|
| Razor | 24h before | Strip residue + follicle reactivity |
| Waxing | 48h before | More open follicle, more reactive surface |
| Depilatory cream | 48h before | Chemical residue interferes with color |
| At-home IPL (Philips Lumea) | 48h minimum | Follicle needs recovery time even at lower intensity |
| Professional laser / clinic IPL | Ask your provider | Sensitivity can last days to weeks |
Professional laser and clinic IPL are the ones people forget about. The area can stay sensitive for longer than expected after a session, and going into a tanning bed or strong sun over recently treated skin can produce uneven color or redness that takes days to settle. If you are doing professional laser hair removal and regular tanning at the same time, keep a buffer of several days between them and let your provider know your tanning schedule.
At-home IPL devices run at lower intensity than clinic machines, which shortens the buffer. 48 hours before any UV or self-tanner application is the window I work with on the Philips Lumea. More on how I schedule that below.
Why I switched to at-home IPL (and how it changed my tanning prep)
After 4 biweekly Philips Lumea sessions, regrowth slows enough that the shaving-before-tanning window becomes nearly irrelevant. The prep math you spend years managing just stops being a daily calculation.
I got tired of the shaving math. The night-before window, the residue issue, the follicle timing, the depilatory smell if I was in a rush. After enough years of managing it around tanning sessions, the friction adds up. At-home IPL had been on my radar for a while, and eventually I stopped putting it off.
Philips Lumea 7000 — BRI931
The Philips Lumea 7000 was my entry point. Simplest model in the line: one body attachment, a beauty bag, and SenseIQ technology that reads your skin tone and adjusts the intensity automatically. No goggles needed. The device only flashes when it detects full skin contact, so there is no accidental exposure.
The treatment schedule is four biweekly sessions to start, then one a month after that. After the second session I noticed a difference — regrowth came back thinner and slower. By the fourth session I was shaving noticeably less often. That is the point where the device started paying for itself against what I had been spending on waxing.
The 7000 does body only. No face attachment, no precision piece for underarms or bikini line. That was fine for a few months. But it was also why I eventually upgraded.
- SenseIQ auto-adjusts intensity per skin tone — nothing to calibrate manually
- Sessions are fast — both legs in about 10 minutes once you have the motion
- No cartridge costs — the lamp is built for the device’s lifetime
- App reminders keep the 4-session schedule consistent
- Body only — no face, underarms, or bikini precision attachment
- Covers legs and arms but misses the areas that affect self-tan results most
- Limited attachment means you hit its ceiling quickly if your tanning priorities expand
Philips Lumea 9000 — BRI984
The Philips Lumea 9000 comes with four attachments: body, face, underarms, and bikini line. Those are exactly the areas where self-tan results show unevenness most clearly. Patchy color on the bikini line or underarms is harder to hide than on legs, and the face attachment let me treat the upper lip — which the 7000 could not do at all.
The face attachment on the 9000 is calibrated for that area specifically: lower intensity, smaller window, built for the thinner skin below the cheekbones. The SmartSkin sensor still reads your tone and adjusts, but the face setting is its own mode. The precision matters when you are working on the same areas where self-tanner development shows any unevenness.
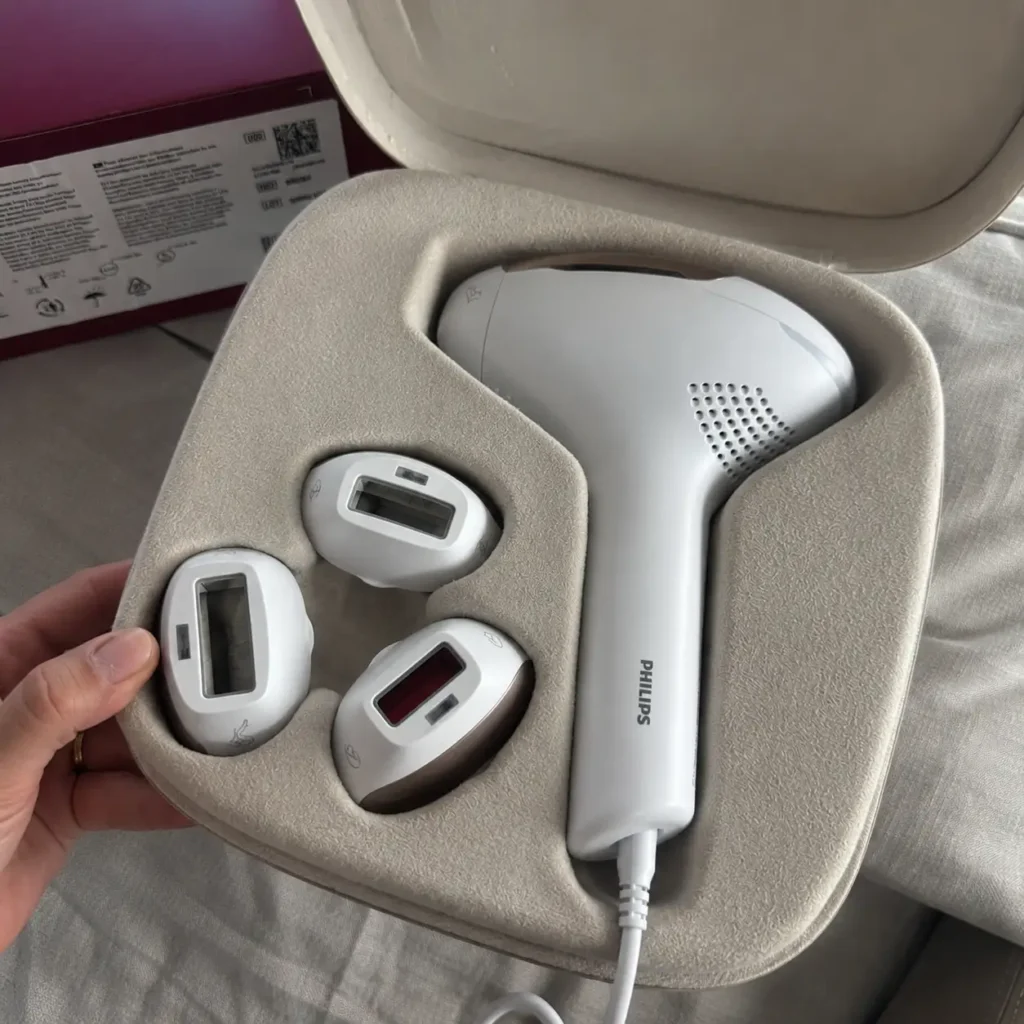
The price gap between the 7000 and 9000 is $100. I was paying around $50 for a waxing appointment every four to six weeks. The upgrade paid for itself in two months. Per Amazon’s verified purchase data, the 9000 sits at 4.3 out of 5 stars across more than 300 reviews and ranks #6 in light hair removal devices in the US. For a device that only became available here in mid-2025, that review count is real signal. The feedback from buyers largely mirrors what I experienced: visible change after session 2, meaningful reduction by session 4.
- Four attachments cover body, face, underarms, and bikini — every area that matters for self-tan evenness
- Face attachment uses a dedicated lower-intensity mode for skin below the cheekbones
- SmartSkin sensor auto-adjusts per zone, no manual intensity guessing
- Visible reduction after session 2; meaningful by session 4
- No cartridge replacement — lifetime lamp, electricity is the only ongoing cost
- $100 more than the 7000
- Only available in the US since mid-2025, so long-term US review data is still limited
- The Luxury Box storage is nice but adds bulk if drawer space is tight
The 9000 is the pick if you tan regularly on the face, bikini, or underarms. Those are the areas where uneven self-tan results show most and are hardest to fix. At $379.95 with four attachments, it replaces what most people spend on waxing in two months.
The real cost question: replacement cartridges
Before buying I looked into the cartridge question, because some IPL devices have replaceable flash lamps that wear out after a set number of pulses. The Lumea line does not work that way. No cartridges. The lamp is built into the device and rated for its lifetime. The ongoing cost is electricity.
Against waxing every six weeks at $50 a session, it pays for itself before the year is out. Against salon laser, the comparison is not even close.
Scheduling IPL around tanning sessions
48 hours minimum between an IPL session and any tanning bed, outdoor session, or self-tanner application. Do IPL the day after tanning, not before — that gives the longest buffer on both sides.
IPL and UV exposure need a gap between them. The treated follicle needs time to settle before you add UV or DHA on top of it. Going in too soon produces the same kind of uneven color fresh shaving causes: concentrated pigment in reactive follicles, dots and patchiness where the surface has not settled.
The Philips Lumea app tracks my sessions and sends reminders. More than 2 million users worldwide use it. The reminders are the unsexy part that actually keeps the schedule consistent in a way mental notes never did for me.
Which Lumea to get
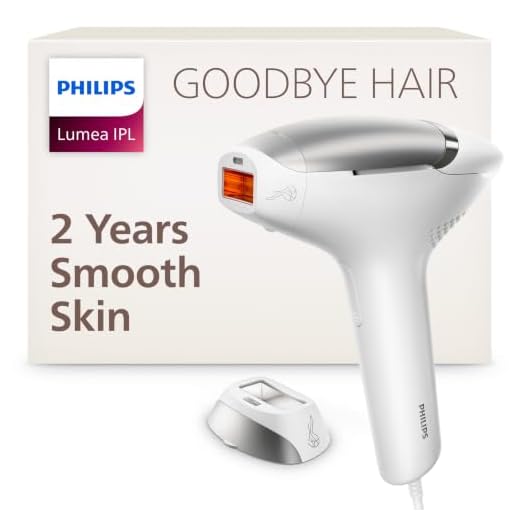
Four models are currently available on Amazon in the US. Quick overview before the full comparison:
|
Best overall
Lumea 9000 BRI984
|
Lumea 8000 BRI937
|
Lumea 8000 BRI932
|
Lumea 7000 BRI931
|
|
|---|---|---|---|---|
 |
 |
 |
 |
|
| Price | $379.95 | $339.95 | $299.95 | $279.95 |
| Attachments | 4 | 3 | 2 | 1 |
| Face treatment | Yes | Yes | Yes | No |
| Best for | Full body + face + bikini | Body + face + precision | Body + face basics | Body only |
| Storage | Luxury Box | Premium Pouch | Premium Pouch | Beauty Bag |
| BUY NOW | BUY NOW | BUY NOW | BUY NOW |
If you tan regularly and want full body coverage including face and bikini: the 9000. That is where the difference shows up in your tanning results. If budget is the priority and you only care about legs and arms, the 7000 is a real starting point. I used mine for months and it worked. The upgrade was about coverage, not the 7000 failing.
All four models are on Amazon now. Philips is running an Amazon Prime promotion through June 27, 2026, with all models between 30 and 34% off standard retail. IPL technology uses pulses of broad-spectrum light to target follicles and slow regrowth. The Wikipedia overview of Intense Pulsed Light covers the mechanism if you want to understand the science before buying.
What if you forgot to shave before your session?
It happens. Here is the honest breakdown by method.
Tanning bed: do not shave right before going in. Better to go in with hair than with freshly opened follicles. Shave after the session and go back the next time properly prepped.
Sun: shaving the morning of is less of an issue than the bed. If there is time for a cold shower beforehand and your skin is not particularly reactive, it usually works fine. Keep the first part of the session shorter than usual.
Self-tanner: skip shaving and apply the self-tanner on unshaved skin rather than shave right before. A small amount of hair affects the finish less than razor film does. Shave the next day with a fresh blade and light pressure.
When to shave after tanning
UV tanning, both sun and bed, does not leave anything on the surface that shaving would damage. The color is in the skin, not on top of it. Shave whenever you want.
Self-tanner and spray tan are the opposite. The color lives in the outermost skin cells, and a razor removes those cells mechanically with every pass. The tan fades faster and sometimes in visible lines where the razor went. I wait at least 48 hours after applying self-tanner before shaving, and when I do go over it I use a new blade and light pressure. The difference in how long the tan lasts is noticeable.
For aftercare that extends color, especially after a tanning bed session, the what to put on skin after tanning bed guide covers exactly what to apply and when.
- 24 hours covers razor shaving before UV or self-tanner. 48 hours minimum for wax, depilatory cream, or at-home IPL.
- The Lumea 9000 covers face, bikini, and body — the areas where uneven self-tan results show most clearly.
- Schedule IPL the day after your tanning session, not before. That gives the full 48-hour buffer without cutting into either side.
Shaving timing comes down to the method and what you are tanning with. UV and DHA both react to freshly-shaved or post-IPL skin in ways that show up in the result, and the buffer is where most people make mistakes. Get the window right and prep becomes automatic.
How to Get Rid of Tan Lines: The Fix That Actually Works Overnight
That’s What Sea Said Tanning Lotion Review: What It Does After Multiple Bed Sessions
Best Shimmer Body Oils: Picks by How You Use Them
Self-Tanning: The Complete Guide
Best Shimmer Body Sprays for a Bronzed Glow
My 10-minute self-tan routine saves me at least 30 minutes every week.