
How to Self-Tan Hands Without Orange Knuckles
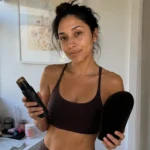
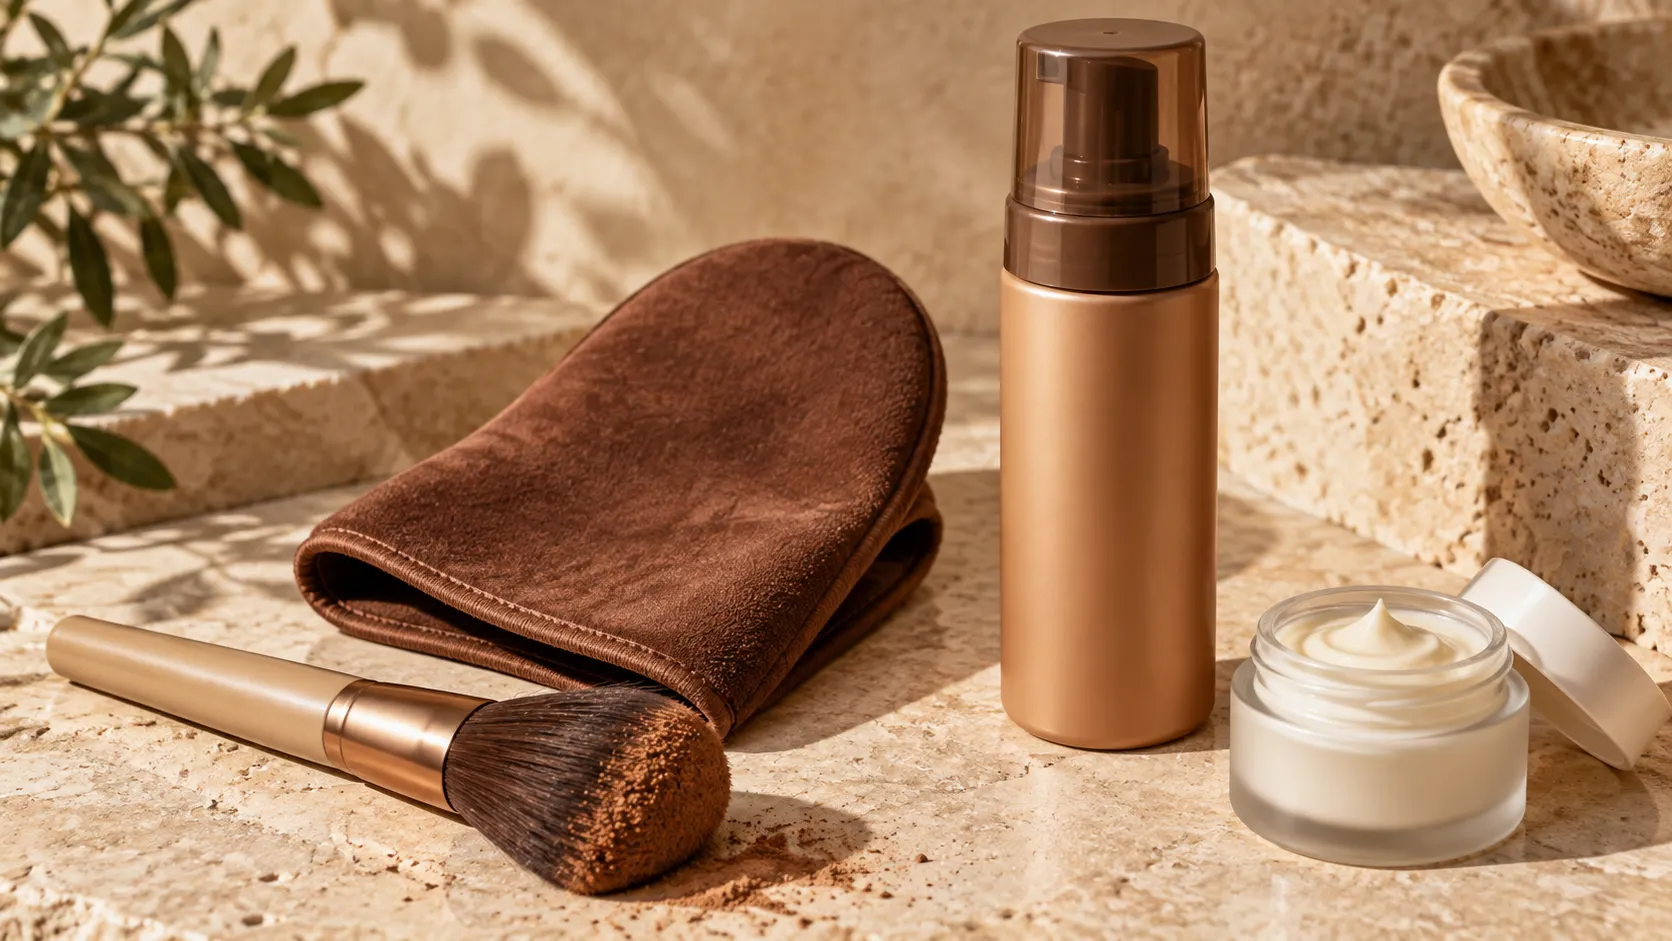
To self-tan your hands without orange knuckles, finish your body first, then use the residue on a small brush across the backs of your hands. Bend your fingers as you blend, go lightly over the creases and leave the palms clean. The hands need a whisper of the same color as your arms, not a fresh pump of mousse.
The obvious giveaway is a stained palm. The trickier one is a small dark ring at every knuckle, where the application went wrong before the color developed. A body mitt covers a wide area; a knuckle is a moving joint with folds you cannot see when your hand is flat. I treat hands as a separate, smaller finishing step rather than miniature forearms.
Why the color collects at the joints
Knuckles, cuticles and finger webs are uneven. Dry patches and creases pick up extra tanner, and when you straighten a hand to apply it, the folded skin can hide a pale line that becomes obvious once you bend your fingers. St. Tropez’s hand guide recommends light moisturizing around the joints and making a loose claw to expose the folds. Bondi Sands also favors a flat makeup brush over a mitt for this small area.
Amount matters as much as tool. A brush dipped directly into a pool of dark mousse can still paint every cuticle orange. I would use what is already left on the mitt or a barely loaded brush, starting at the wrist so any extra color has somewhere to fade out. If the body tan is dark, that does not mean the fingers need the same amount of product per inch. They will be in view all day, often against a pale palm.
My hand finish, step by step
I would do this after the arms, not halfway through the body. It is much easier to blend toward an arm that already has product on it. Before starting, take rings off and look at both hands in decent light. Old tan in the creases can make a new application seem uneven even when the new layer is thin.
- Prepare only the grabby bits. If the knuckles or cuticles are dry, smooth on a small amount of light moisturizer and let it settle. St. Tropez recommends this barrier where color tends to collect. I avoid leaving a thick slick layer that would create a pale patch instead.
- Tan the rest of the body. My full application method covers the larger zones. Finish the forearms right up to the wrists so the hands have a color to meet.
- Switch to a small, dense brush. Sweep a trace of leftover product from wrist to back of hand. A flat-topped makeup brush gives more control than a floppy body mitt. You are spreading a film, not painting each finger twice.
- Make a loose claw. Bend the fingers as if holding a small ball. Feather over the tops and sides of the fingers and across the exposed knuckle folds. Ease up at the cuticles and stop before the palm. When I flatten the hand again, I check for a dark bar at the wrist.
- Clean what should stay pale. Wipe the inner palm and nail edges carefully. If you applied body tanner with bare hands, follow your bottle’s hand-washing instruction, then return with the brush to touch the backs of your hands. Do not rinse the whole freshly finished hand before the formula has developed unless the product instructions say to.
That last step depends on the formula. A rinse-off guide-color mousse and a no-rinse milk do not have the same timing. Follow the development and wash-off directions on the bottle you actually used. St. Tropez’s brush tip and Bondi Sands’ bent-finger method help with placement; neither changes how long your own formula needs to set.
Brush, mitt or gradual lotion?
The brush is the useful extra if you’re using mousse for the body and want to keep the same shade on your hands. It also lets you reach between fingers without coating the palms. A mitt is fine for arms and legs, but its wide surface hides too much of the small work. If you already own a flat makeup brush you can reserve for tanning, you don’t need to buy a specialized one.
A gradual lotion is a different choice. It lets someone who finds dark mousse unforgiving build a softer hand color in more than one application. The trade-off is keeping track of the hand lotion and the body tan so they don’t develop at different depths. I would not pile gradual lotion over a fresh mousse application just because the fingers look pale immediately; the mousse may not have developed yet.
The Tanologist blending brush and a familiar St. Tropez mousse are examples of the brush-and-body pairing, not a requirement to replace products you already own. Choose the applicator first, then use the formula whose development time you know. The products below are for those who need a brush or a new body tan, not a prescription to apply a full dose to every knuckle.


Match the technique to what is in the bottle
A mousse with a visible guide gives you a map of the product. I would finish the body with the mitt, put only its remaining trace onto a brush and stop when the hand looks lightly coated, not as dark as the leg. The guide may make the fingers look strange right away; judge the developed result after the brand’s rinse step rather than adding more guide color to “even it out.” St. Tropez shows why a loose claw matters: the fold at each finger joint is hidden when the hand is straight.
A clear gel or milk gives you no such map. Pick an order and stick to it: one wrist and hand, then the other. Keep track of the finger sides and stop before the palms. A small brush is useful for placement even when the brand says hands can apply the product directly; that does not mean every clear formula requires a specialized brush. I would check the product’s own directions first, particularly for hand-washing and development time. Cyklar, for example, explicitly tells buyers to wash their hands after using its milky essence.
With a gradual lotion, remember that yesterday’s color may still be developing or visible when you apply again. I wouldn’t keep adding a big dose to the back of one pale-looking hand while ignoring the other. Compare both against your forearms in the same light and follow that particular lotion’s frequency directions. If your hands get washed more often than your arms, their color can seem to disappear sooner. A maintenance pass needs the same tiny amount and attention to creases as the first one.
Wrist seams and cuticle stains
The wrist is where a careful hand finish can still fail. A dark band can happen if the brush begins with a saturated stroke at the exact end of the forearm tan. Feather from the already-tanned wrist out onto the back of the hand. Turn the hand over, too: product that has wrapped under the wrist can develop as a line against a clean palm. I check that edge before moving to the fingers.
Cuticles are another trap. Painting product around each nail with the tip of the brush puts the strongest dose on a small dry border. Keep the brush’s main pass on the back of the hand and the tops of the fingers. A clean, slightly damp cloth can lift accidental product from nail edges while it is still fresh, but be precise: wiping a whole wet knuckle can make a pale hole. Once DHA color is developed, don’t treat a stained cuticle as a wet bronzer you can simply rub off.
If both hands are darker than the arms, the problem probably isn’t one rogue knuckle. It may be a full-dose application to an area that needed residual color. If only one hand is darker, compare how much product each brush pass carried and whether one wrist got a second overlap. Those two patterns suggest different fixes for next time. The goal is a joined-up result, not identical amounts of tanner everywhere.
Before you go out
Check the hands against the arms after the formula has finished developing, not under yellow bathroom light halfway through. Open and close the fingers. Look at the inside edge of each thumb, the nail beds and where a watch sits at the wrist. A watch or tight cuff worn too soon can interrupt an even application, so follow the product’s instructions about drying and dressing.
If the hands are slightly lighter, you can decide whether that looks natural enough. If they are dramatically darker, adding body tanner to the arms to “catch up” turns one small problem into a larger one. Give the color its normal fade and use a lighter brush the next time. It’s a small change, but it is more repeatable than trying to erase ten dark joints one by one.
If your hands are already orange
First, decide whether you are looking at guide color before the rinse or developed DHA color afterward. Rubbing a fresh guided mousse can smear it farther; scrubbing a developed dark knuckle can leave a conspicuous pale circle. I would follow the product’s rinse instructions, then check again in daylight before trying to correct anything.
If the color has developed too dark, keep the skin moisturized and let the contrast soften with ordinary washing rather than attacking one joint. For a distinct wrist line or several patchy zones, my streaky self-tan fix separates fresh guide marks from developed dark bands. Next time, reduce the amount on the brush. More vigorous blending cannot rescue too much product sitting in a crease.
The finish I want is boring: no ring at the wrist, no orange crescents around the nails, no palms that look like they held the bottle all night. Once the color has developed, compare both hands against the forearms in natural light. If they need another pass, a thin one tomorrow is easier to control than a second coat on a wet, invisible first layer.
Sources: St. Tropez hand-tanning steps; Bondi Sands on hands and feet.
Peta Jane Self Tanner Review: Does the Allure-Winning Mousse Actually Deliver?
GlowDrop Review: Do Drinkable Tanning Drops Actually Work?
Self-Tanner on Tattoos: How It Changes the Look of Healed Ink
Cyklar Self-Tanning Milky Essence Review: Who Is It For?
Melanotan II vs DHA Self-Tanner: What the Barbie Peptide Gets Wrong
Can You Use Retinol With Self Tanner? A Night-by-Night Schedule