
Self-Tanning: The Complete Guide
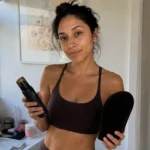
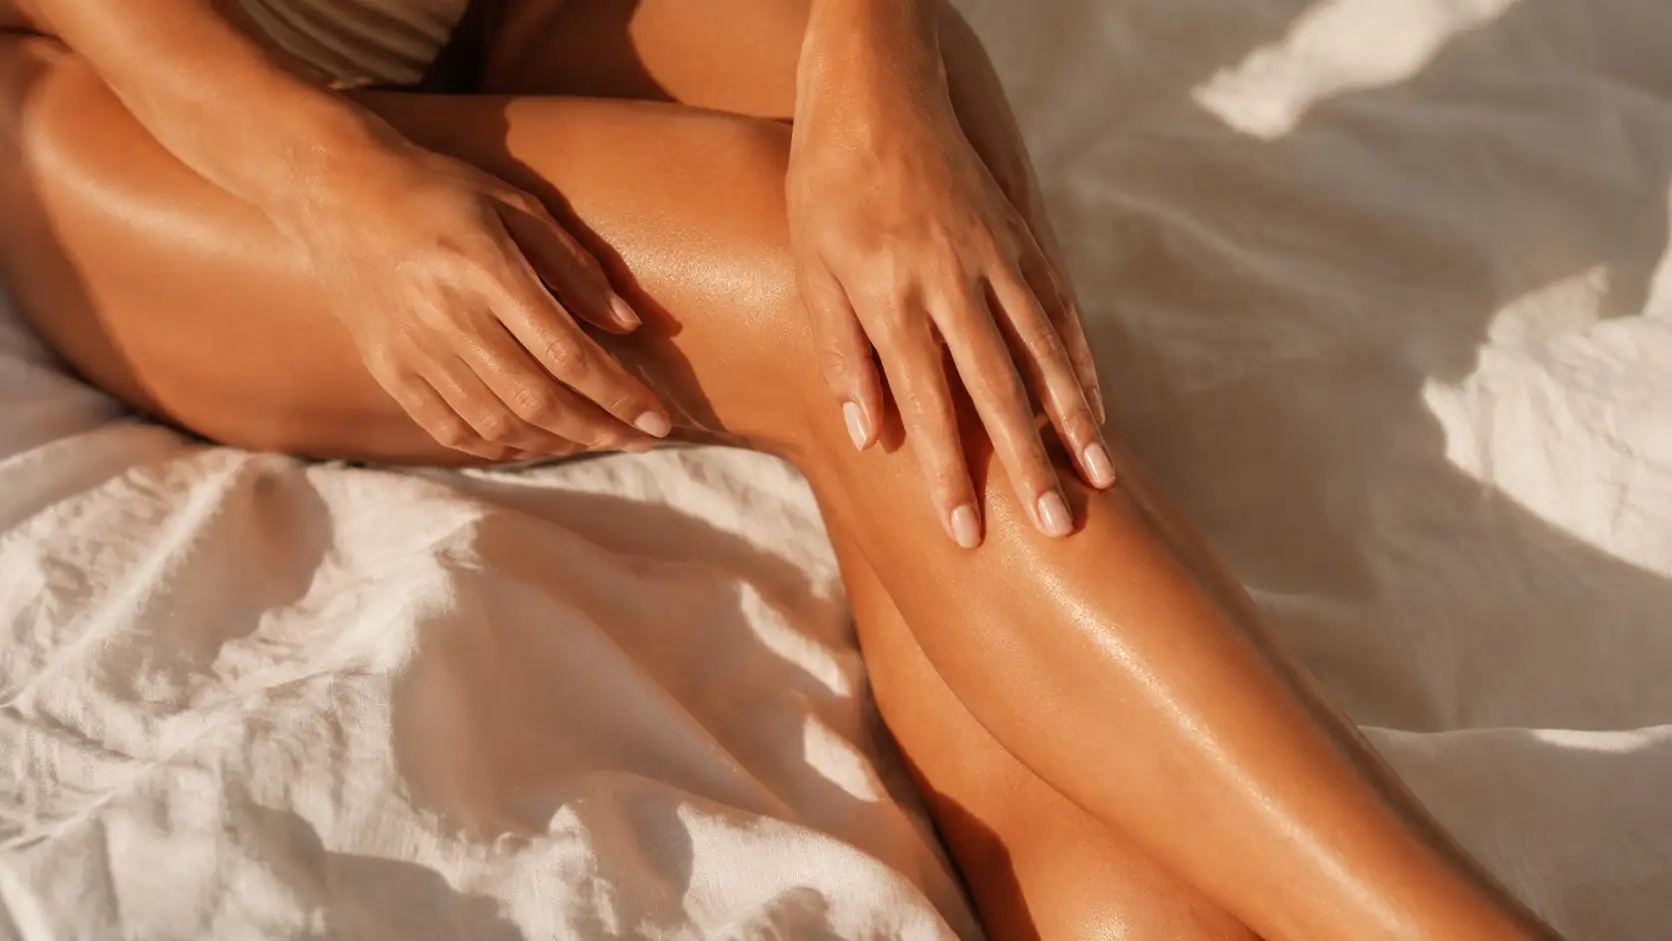
I’ve been self-tanning for years. Not because I’ve given up on the sun, but because I learned that a well-applied self-tan looks better than most natural tans: more even, more controlled, and without the skin damage. When it goes right, nobody knows you didn’t just get back from somewhere warm.
This guide covers everything: how DHA actually works, what format makes sense for your situation, the prep steps that determine 80% of the result, what causes the common failures, and how to keep the color looking good past day three. If you’ve tried self-tanning and it went orange, patchy, or faded unevenly, you’ll find the specific cause here and where to go to fix it.
How self-tanner actually works
Most people assume self-tanner works like a dye. It doesn’t. The active ingredient in almost every self-tanner on the market is DHA (dihydroxyacetone, a colorless sugar derived from plant glycerin). When DHA contacts the amino acids in the outermost layer of your skin, it triggers a chemical reaction called the Maillard reaction and produces brown-toned compounds called melanoidins. That’s your tan.
The result is color that’s chemically bonded to your skin cells, not sitting on top of them. It cannot be washed off. It fades naturally over 5–7 days as those dead skin cells shed. This is also why surface prep matters more than most guides acknowledge: if your skin is uneven (dry patches, leftover product buildup, rough elbows), the DHA reacts in patches rather than evenly. And it’s why applying moisturizer immediately before application backfires: oils and heavy creams create a barrier that slows or blocks the reaction.
Most self-tanners contain a temporary cosmetic bronzer so you can see where you’ve applied. That color washes off. The actual DHA tan develops underneath over 4–8 hours. Don’t judge the result right after application. Wait until after your first rinse.
DHA concentration determines depth. A formula with 3–5% DHA produces a subtle result; 8–10% or higher goes noticeably dark. Skin undertone and skin thickness also affect the final color. The same formula can develop differently on two people with the same skin tone based on how their amino acids interact with DHA. This is why finding a formula that works for you, rather than chasing the most reviewed one, makes a real difference.
Types of self-tanner: mousse, drops, gradual and express
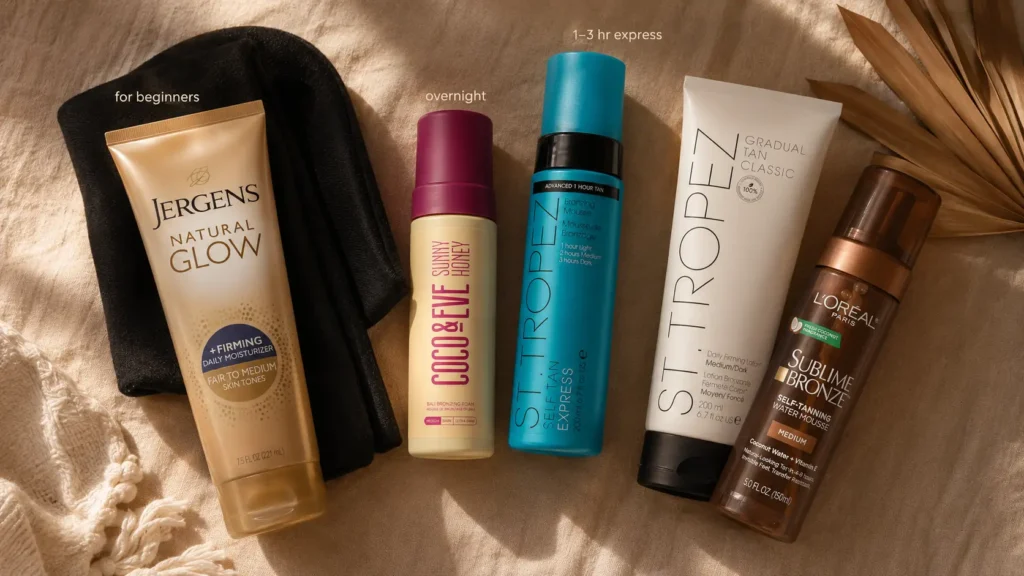
Self-tanning has split into several distinct formats over the last decade. They don’t all work the same way, they don’t suit the same person, and choosing the wrong one is usually where results fall apart.
Mousse
Fast-drying with a visible guide color so you see exactly where you've applied. Most express options are mousse. Mistakes show up darker here than on gradual formulas. Technique matters more.
→ Best mousse picksDrops
DHA concentrate you mix into your own moisturizer. Total control over depth. Almost impossible to streak because you're blending into a lotion base. Builds slowly. Not for same-day results.
→ Best drops picksGradual Lotion
Apply like regular body lotion, daily. Color builds over a week. Most forgiving format. Missed spots fill in next session. No real technique required. The natural entry point.
→ Best gradual picksExpress
Rinse at 1 hour for light, 2 for medium, 3 for dark. Best for people who know their skin. Streaks and patchiness develop faster and darker than standard formulas.
→ Best express picksSelf-Tanner + Moisturizer
DHA combined with active hydrating ingredients: hyaluronic acid, ceramides, shea. Good for dry skin that develops unevenly. Richer base adds a margin of error standard formulas don't have.
→ How they workSelf-tanning tools: what you actually need
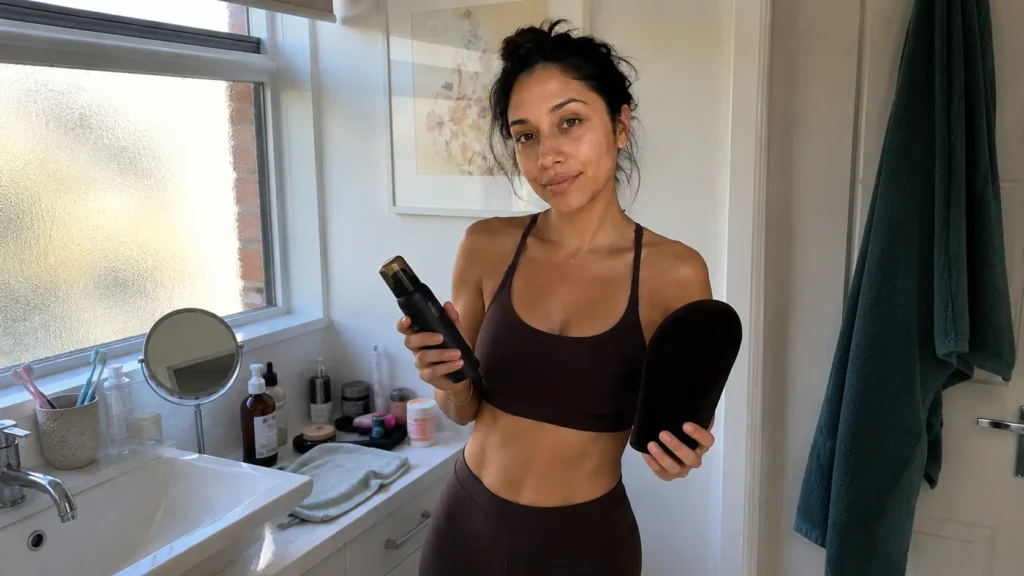
You can apply self-tanner with your bare hands. You’ll end up with orange palms and uneven coverage. Two tools change the results significantly. Everything else is optional.
That’s it. No tanning machine, no setting powder, no special soap. The rest is technique and product choice.
How to prep your skin for self-tanner
Prep is where a self-tan is won or lost. The application takes 15 minutes. The prep decisions you make 24 hours before determine whether the result looks natural or patchy. Most guides skim this section. They shouldn’t.
-
The night before: exfoliate properly
-
The night before: no heavy moisturizer afterward
-
Day of: clean, dry, product-free skin
-
Day of: barrier cream on dry zones
-
How temperature affects your self-tan results
How to apply self-tanner: body and face
The fundamentals are consistent across formulas: start at the feet and work upward, use the mitt in long circular motions rather than short strokes, go lighter on joints, and maintain pace. You don’t want product starting to dry before you’ve blended the edges.
Face application is an entirely separate process from the body. It needs less product, different tools, and a lighter touch at the hairline and eyebrows. Trying to apply face self-tanner the same way as body tanner is one of the most common reasons the face ends up either too dark or orange-toned while the body looks fine.
Both techniques are written out in full detail separately. Body application and face application have enough differences to warrant their own guides:
Why self-tanner goes wrong
Most self-tan failures fall into three categories. Knowing which one you’re dealing with tells you exactly what to fix: whether the fix is a prep change, a formula switch, or a technique adjustment.
I’ve had all three happen in the same session. The one I remember most clearly: express mousse, dry elbows I forgot to prep with barrier cream, left on for two hours instead of one. The elbow result was close to purple. I exfoliated for two days and wore long sleeves. Prep is not optional.
- Orange result
Almost always a DHA mismatch: a formula too concentrated for your natural skin tone, left on longer than your skin can handle, or applied over a surface that wasn’t properly prepped. The undertone of the formula matters too. Some develop warm-orange, others cool-olive. If the undertone doesn’t match your complexion, the result looks artificial regardless of how well you applied it.
- Patchy or streaky result
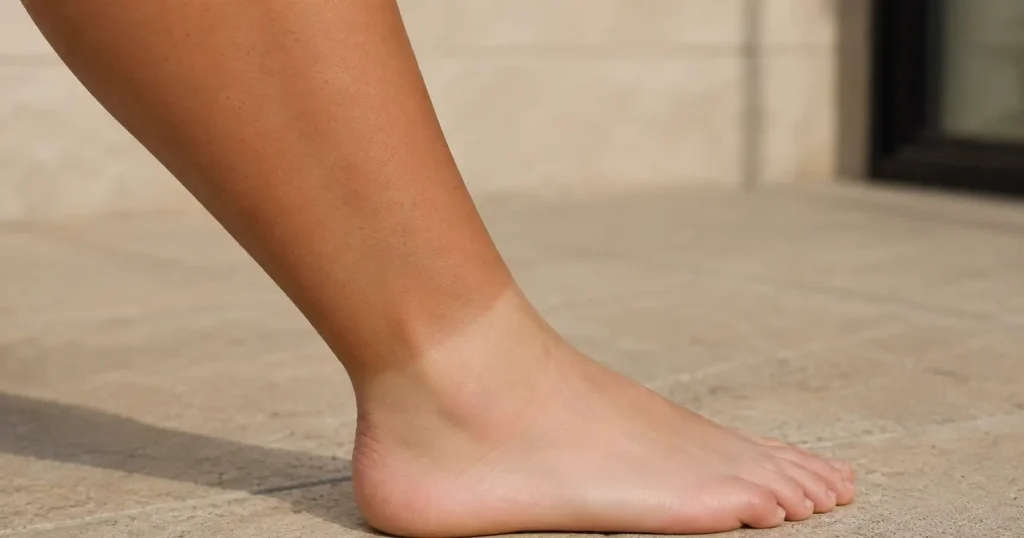
Usually a prep or technique issue. Dry skin patches absorb DHA faster and go darker. Going back over a section that’s already partially set creates uneven buildup. Moving too quickly without full blending between sections leaves visible transitions. In most cases the cause is visible once you know what to look for.
- Uneven fade
The tan was fine when it developed but falls off in patches rather than fading evenly. Almost always a hydration issue: dry skin sheds cells faster and takes the color with it in chunks. The fix is daily moisturizer starting 24 hours after application, and avoiding long hot showers. It’s not a product failure; it’s an aftercare gap.
How to make self-tan last longer
Most self-tans last 5–7 days. That’s the natural lifespan of the outer skin cells the DHA has reacted with, and you can’t extend it much past that window. What you can control is whether it fades evenly and looks presentable through day 6, or starts going patchy by day 3.
The main lever is hydration. Moisturized skin sheds cells more slowly and more evenly. Apply a fragrance-free body lotion every day starting 24 hours after your first rinse, not immediately, because the DHA reaction is still completing in the first 24 hours and heavy product can disrupt the finish. Avoid long hot showers, chlorinated pools, and physical exfoliants for as long as you want the tan to hold.
The right moment to reapply is when the tan starts fading but hasn’t fully gone, usually around day 4 or 5. A light reapplication over existing faded color, on freshly exfoliated skin, builds more evenly than starting from scratch on completely clear skin. Waiting until it’s fully gone means starting the whole process over.
How to choose the right self-tanner for your skin
The single biggest variable in self-tanning results is formula choice. Not technique, not brand, not price point. Picking a formula that matches your skin tone, your skin type, and your timeline is more important than any other decision you’ll make.
Frequently asked questions
How long does self-tan last?
Most self-tans last 5–7 days before fading noticeably. The lifespan depends on how fast your skin naturally turns over and how well you moisturize after application. Hot water, chlorinated swimming, and physical exfoliants all shorten it.
Does self-tanner work on pale skin?
Yes, but formula choice matters significantly. High-DHA formulas on very fair skin tend to develop orange rather than bronze. A light or medium formula built gradually looks more natural. Starting with a gradual lotion for the first week before moving to a stronger formula is the most reliable path for pale skin.
Can you self-tan your face?
Yes, but the technique is different from body application: less product, lighter pressure, and more precision at the hairline and brows. A dedicated face formula or drops mixed into a face moisturizer work better than most body mousses on facial skin. Using a damp sponge instead of a mitt gives you more control in smaller areas.
Why does my self-tan smell?
DHA produces a faint, slightly biscuit-like smell as it reacts with skin. This is normal and unavoidable with all DHA-based formulas. Most self-tanners mask it with fragrance during application; the smell becomes noticeable as the tan develops, usually 4–6 hours in. It fades within a day of rinsing.
What not to do after applying self-tanner?
Don’t shower for at least the development time specified for your product (4–8 hours for most, 1–3 for express). Don’t sweat heavily. It can shift product before it sets. Don’t apply moisturizer, deodorant, or perfume until after your first rinse. Don’t wear tight or light-colored clothing that could rub or transfer the bronzer guide.
Is self-tanner safe?
DHA is approved by the FDA for external cosmetic use and is considered safe for topical application. The main precaution is avoiding inhalation, which is relevant for spray tans but not for lotions or mousses. Self-tanner does not protect against UV rays and does not substitute for sunscreen.
Can you use self-tanner without a mitt?
Technically yes, but the result will be uneven and your palms will turn orange. A mitt is the single most effective tool for even application. If you don’t have one, a latex glove is a rough substitute, though it doesn’t blend product as well as a velvet mitt.
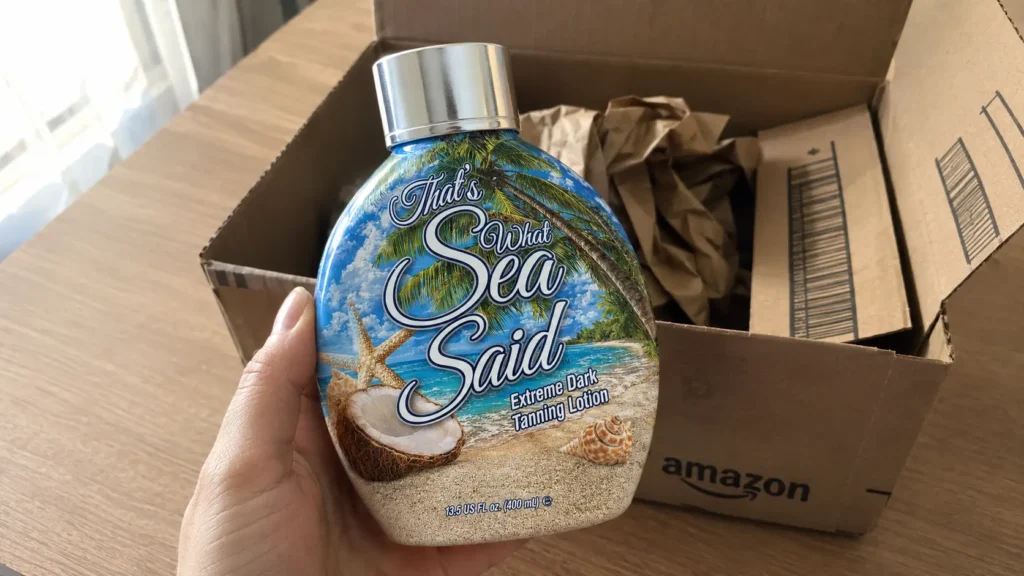
okay this is literally the first guide that actually made sense to me lol 😭 i’ve been too scared to try self tanner bc every time i see someone orange i panic. medium skin tone here, would you go with the 1 hour or just do the full night? don’t want to go full dorito on my first try
Hey Rachel! For a first time I’d go with a standard formula left overnight rather than express. Express is great once you know how your skin develops but rinsing it off on your first try makes the result harder to predict. With the overnight version you just apply a light layer and let it do its thing. What formula are you thinking of trying?